My wife and I will be in the market for a house soon. Whenever she asks where I want to live, I always say, “Somewhere near a coffee shop.” That’s my only requirement because I love coffee so much. Currently, we live in an apartment in a busy part of the city, so I usually get my coffee to go, and I walk to get it. That’s where this DIY leather coffee sleeve comes in handy… 
Currently, I don’t live near just one coffee shop, but about 20 coffee shops. It’s a paradise for caffeine lovers. I’m not sure if “getting coffee” can be termed a hobby, but if it could, I’d be an expert at it. Although I get a lot of coffee, I don’t always remember to bring a reusable cup with me. A coffee sleeve, on the other hand, is small enough to keep in my coat pocket. It helps reduce waste and adds a personal touch, while clearly indicating that I’m definitely not sipping tea.
Since I live in an apartment and not a house, I don’t have a lot of space for heavy-duty crafting. Tools make noise, and the walls in my building are thin. Before getting my hands on the tool I used for etching this leather coffee sleeve, I had never considered doing any mechanical etching, sanding, etc. You guys – it’s so quiet. And it’s small, so it’s not intimidating at all. The Dremel® Stylo+? 10/10, would etch again. Continue reading to learn how I made a reusable coffee cup sleeve to keep my hands cool and my drink hot.
Materials
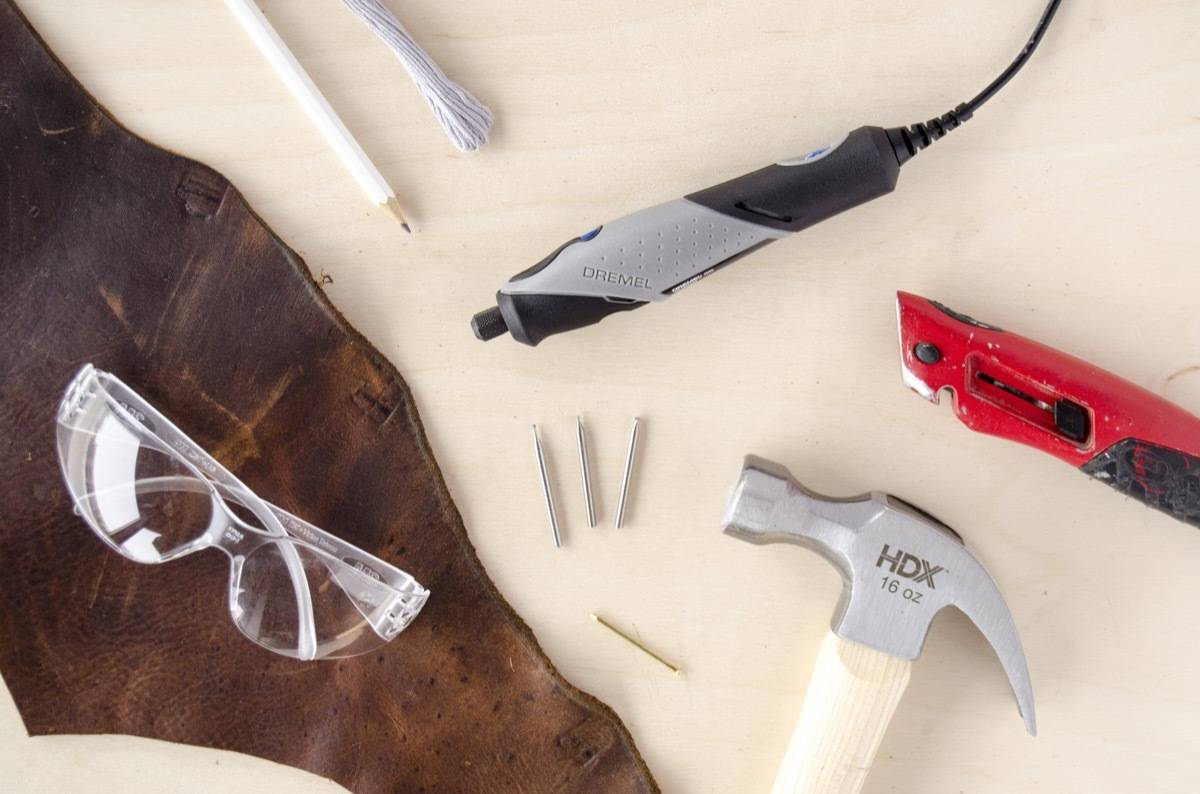
- Dremel® Stylo+ tool, plus engraving accessories
- Scrap leather
- Leather coffee sleeve template (print out here)
- Sharp utility knife
- Pencil or pen
- Hammer, a small nail, and a scrap piece of wood
- Embroidery floss and needle
- Safety glasses
Step
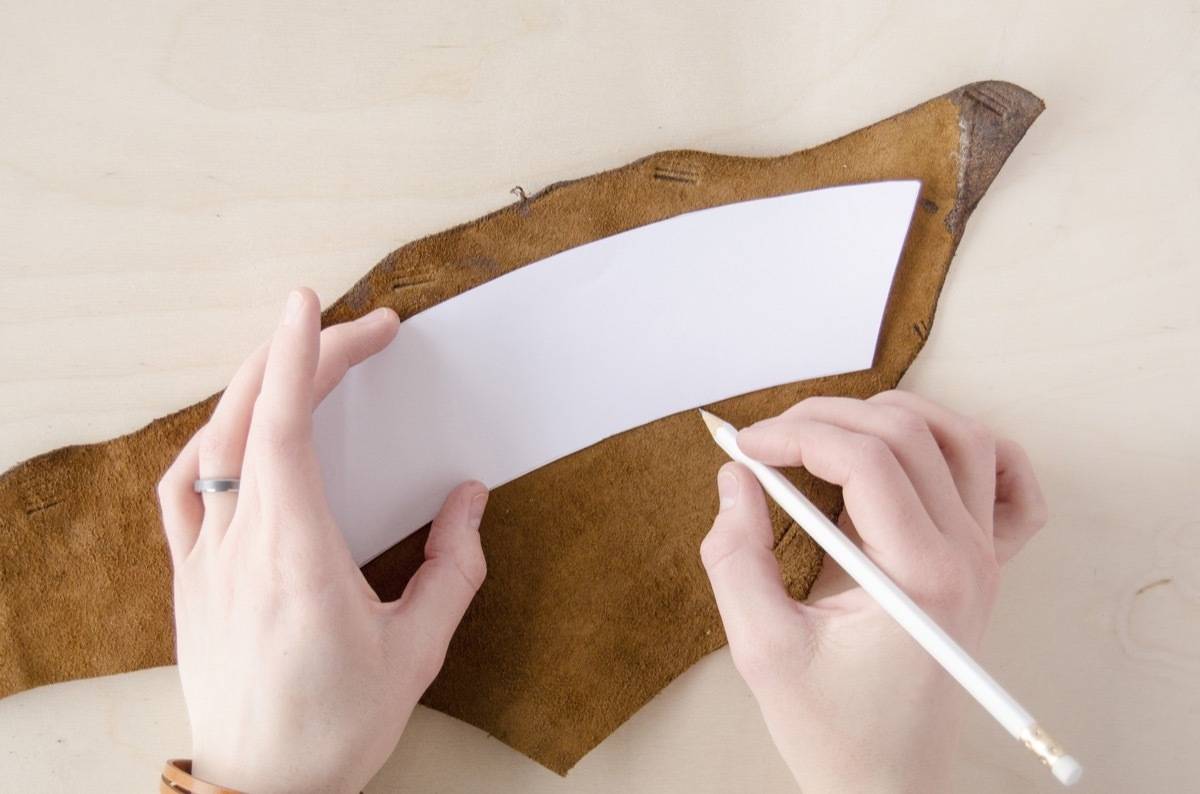
Print out the Leather Coffee Sleeve template, cut it out, and trace the shape of the cup sleeve onto the back of a piece of scrap leather.
Step
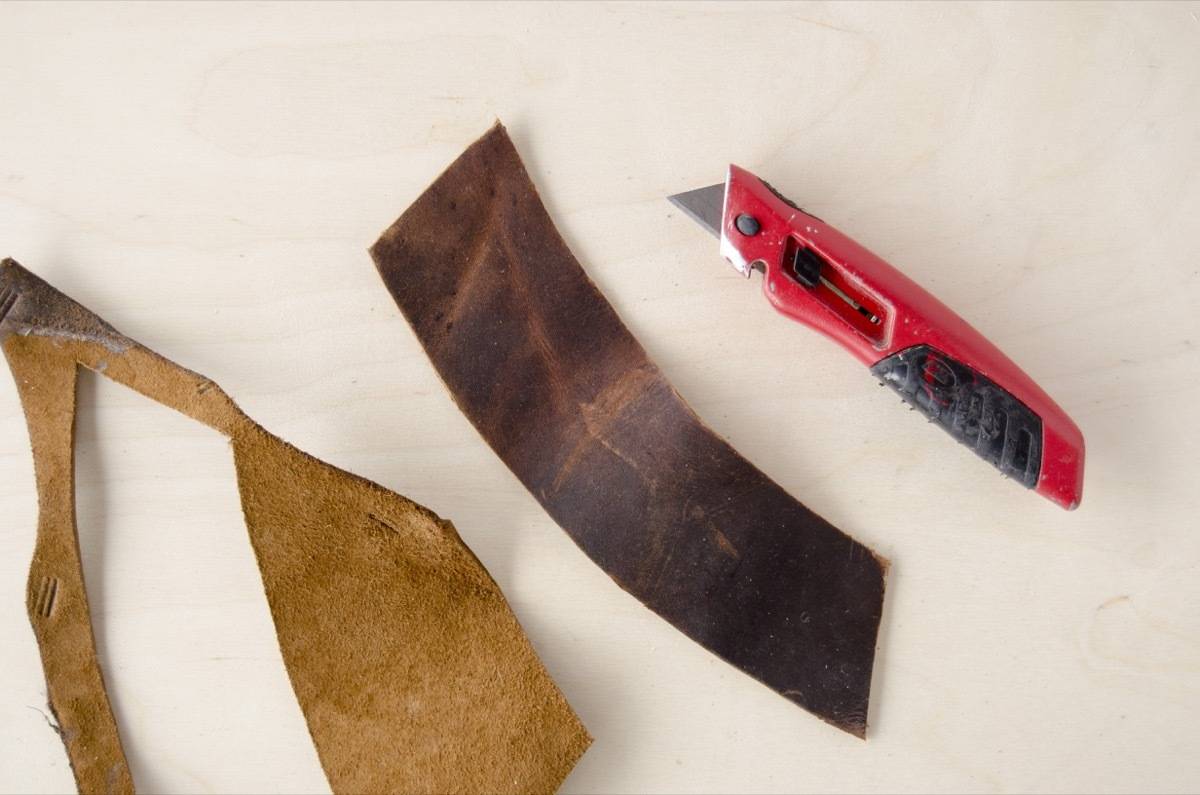
Use a sharp utility knife (or sharp pair of scissors) to cut out the shape of the sleeve.
Step
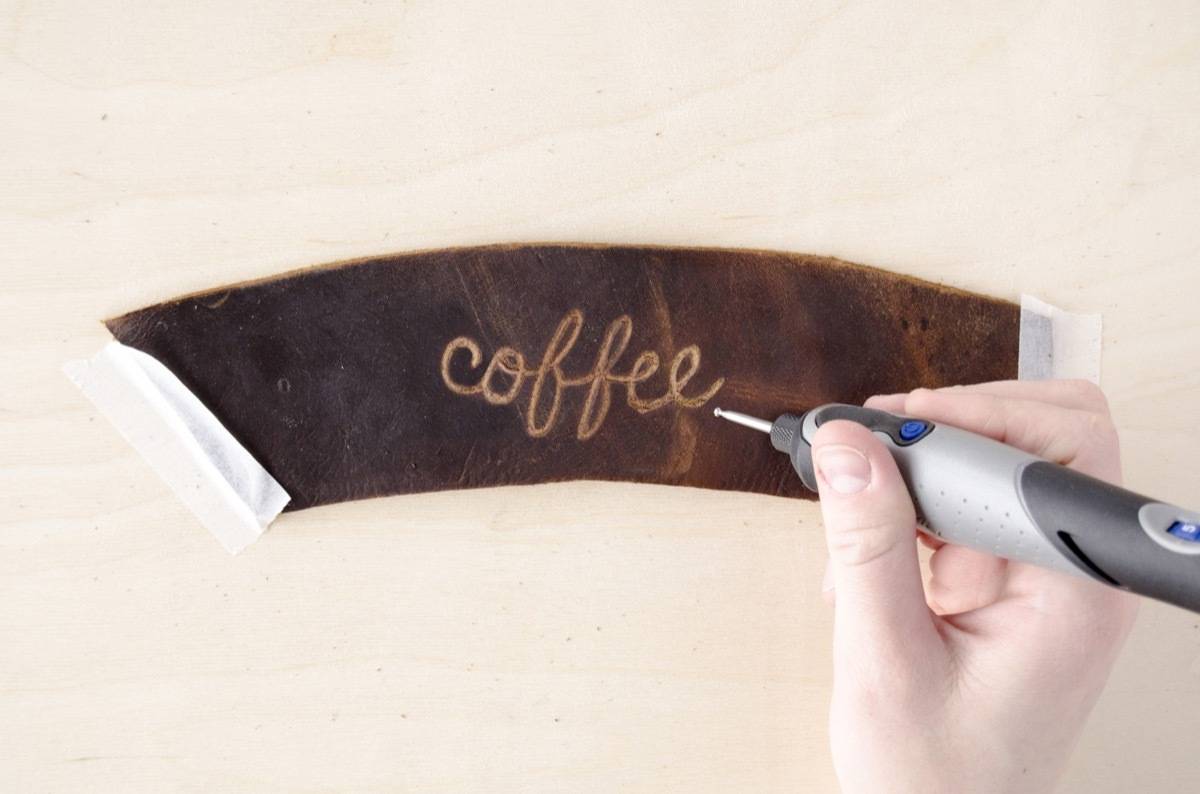
Align the template with the cut piece of leather, and trace the lettering lightly with a pencil. This will leave an indentation in the leather.
Secure the leather to your work surface (using clamps or tape so it doesn’t move), and put on a pair of safety goggles. Following the indention, etch over the design using the Dremel® Stylo+ tool.
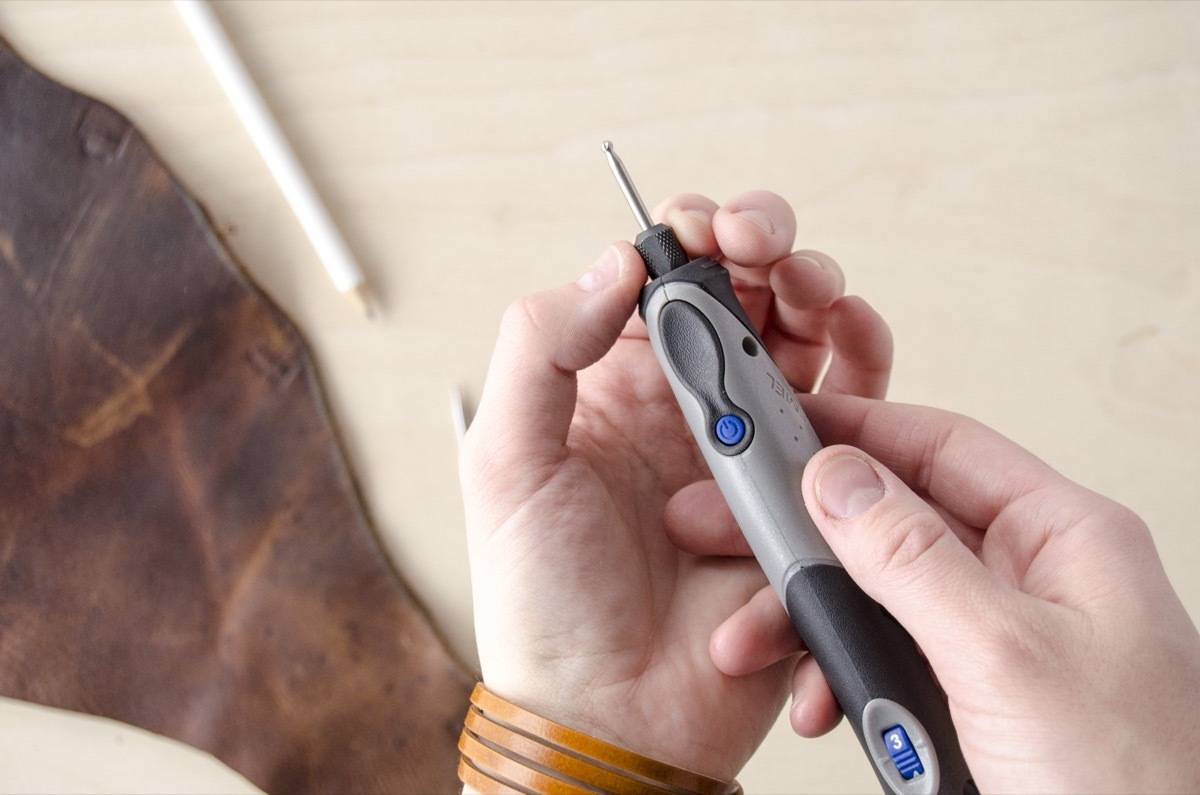
Even though this tool is small, take the same precautions as you would with a larger power tool (because while it’s small, it’s still powerful!). When changing the accessories, make sure to unplug the Dremel® tool. And always wear some type of protective eyewear. Safety first!
Step
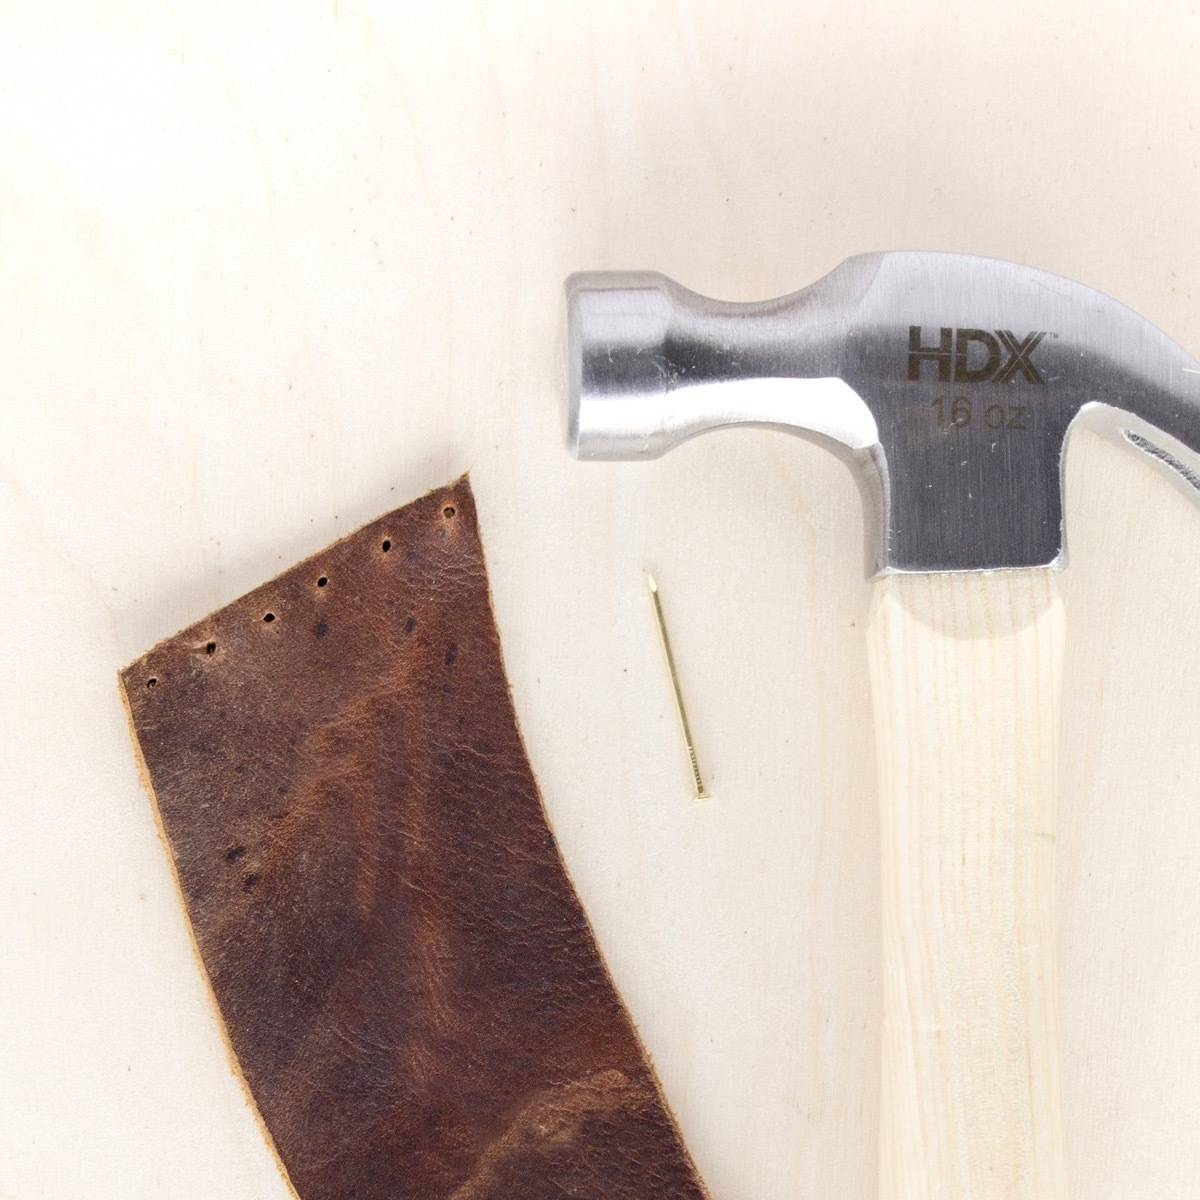
Place the leather on a scrap piece of wood, and use a small nail to make a few equally-spaced holes along the edge of the strap. After marking your holes, hammer the nail through each mark to puncture the leather and create a hole to stitch through. Align the other edge of the strap with the punctured one, and mark the same number of holes on the other side. Puncture through these holes with a hammer and nail as well.
Step
<img class=”horizontal-image align size-full wp-image-56679″ src=”https://www.curbly.com/wp-content/uploads/2018/03/diy_leather_cuff_1.jpg” sizes=”(min-width: 1420px) 703px, (min-width: 1040px) calc(
