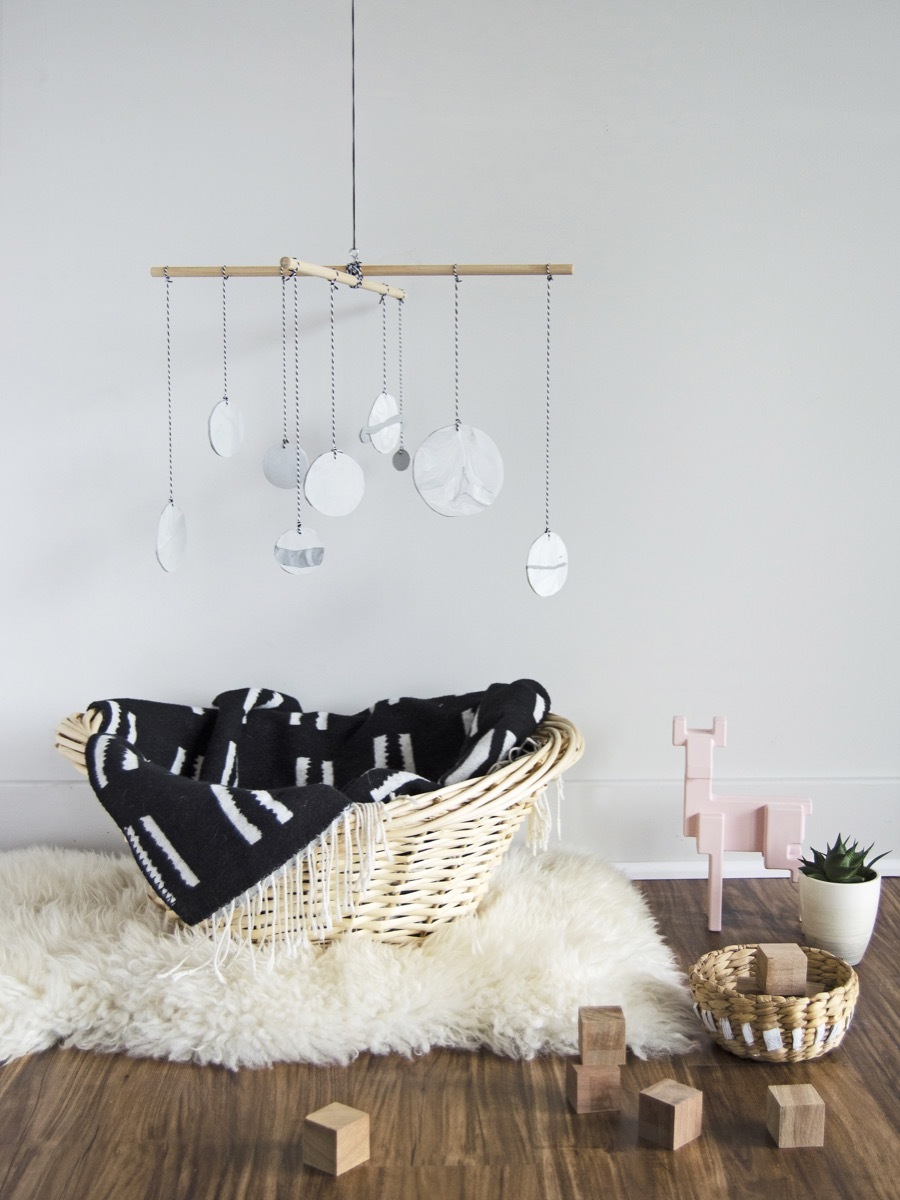
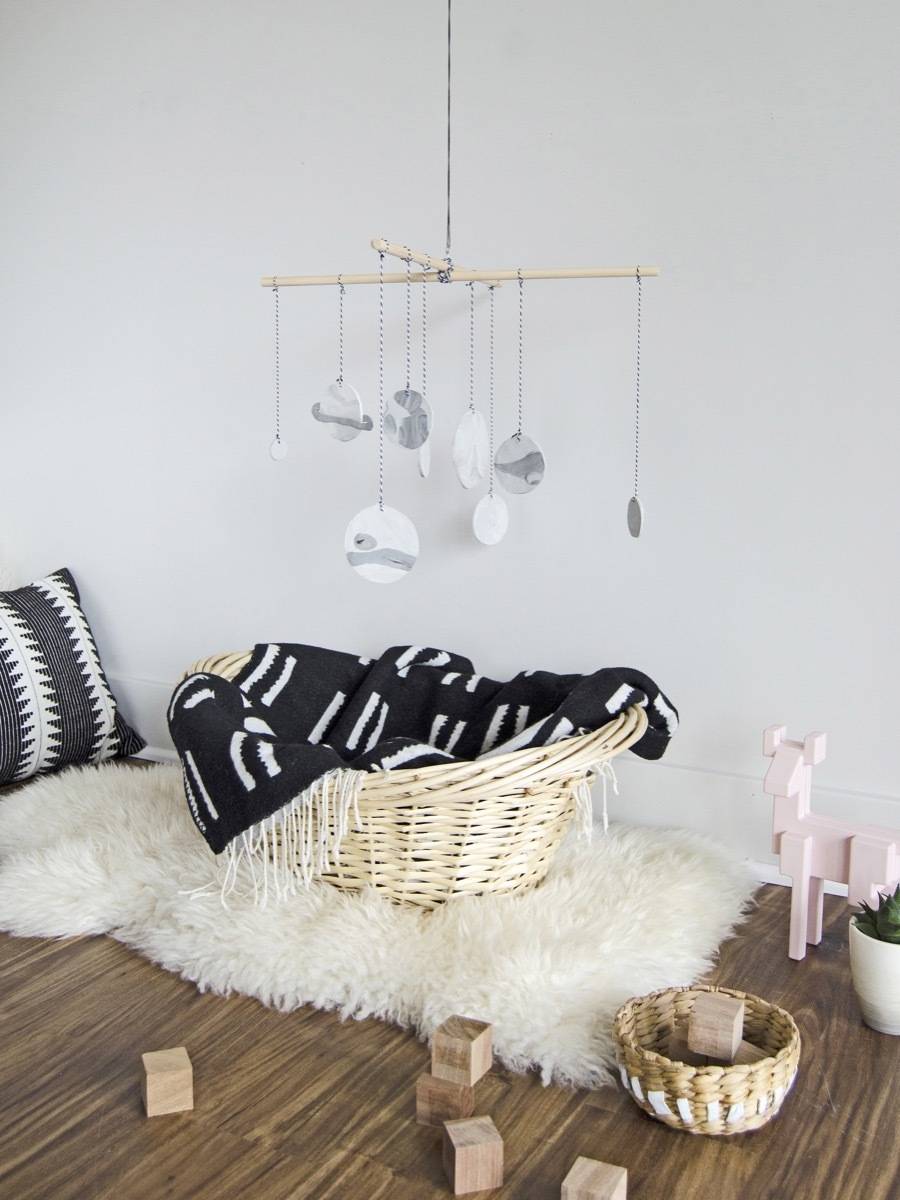
As nursery trends change, there is a shift away from the traditional pinks and blues. The minimalist nursery look is becoming increasingly popular due to its simplicity, lack of gender-specific colors, and minimal color palette. If you’re planning to decorate a minimal nursery or looking for a gift for a non-fussy parent-to-be, you can create this adorable planetary mobile quickly and easily.
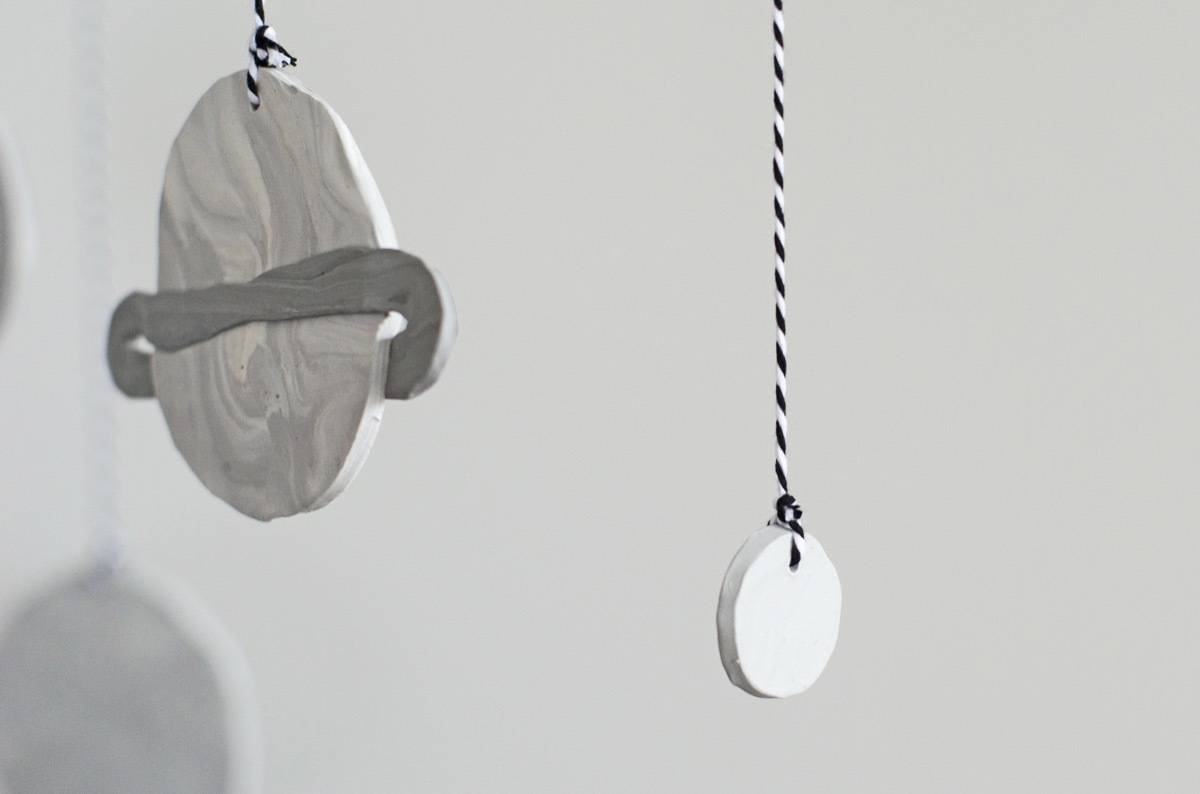
For this DIY project, a completely unsaturated look is chosen to create a marbled effect with polymer clay, which lends itself nicely to black and white color combinations.
I’ve provided a printable template for this project to assist with the sizing and color patterns of the nine planets to be made for the mobile. That’s right, nine planets, as we’re still hoping for Pluto’s reinstatement as a planet by NASA. We miss you, Pluto!
Materials
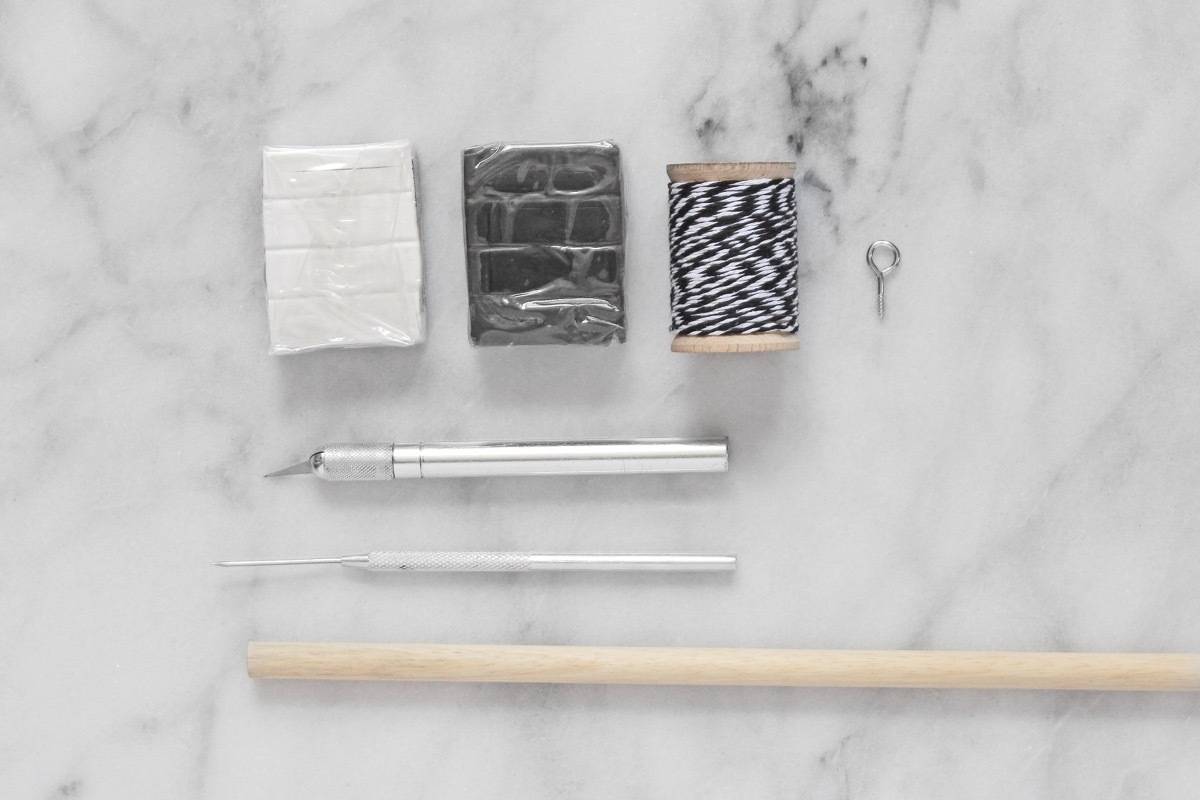
- Polymer clay in white and black
- Planetary Mobile Template
- A rolling pin or wine bottle
- Wooden dowel, measuring 36″ in length
- A handsaw and sandpaper
- Bakers twine or string
- Eye hook
- Craft knife
- Toothpick or skinny tool
- Access to an oven
Step
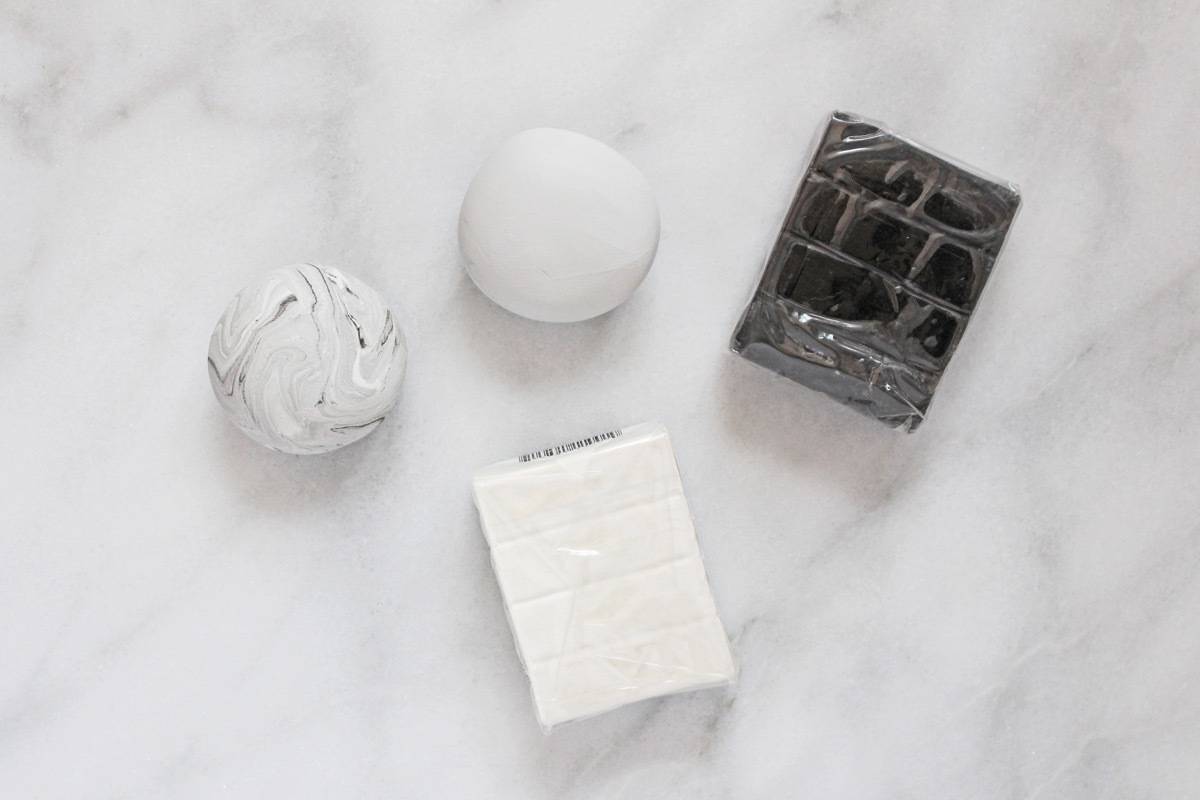
To create the two gray shades of clay needed for this project, mix white and black clay together using your hands. For the body of the planets, blend about 85% white and 15% black and completely mix the colors. For the details of the planets, blend about 70% white to 30% black, but don’t fully mix them to create a marbled look.
Step
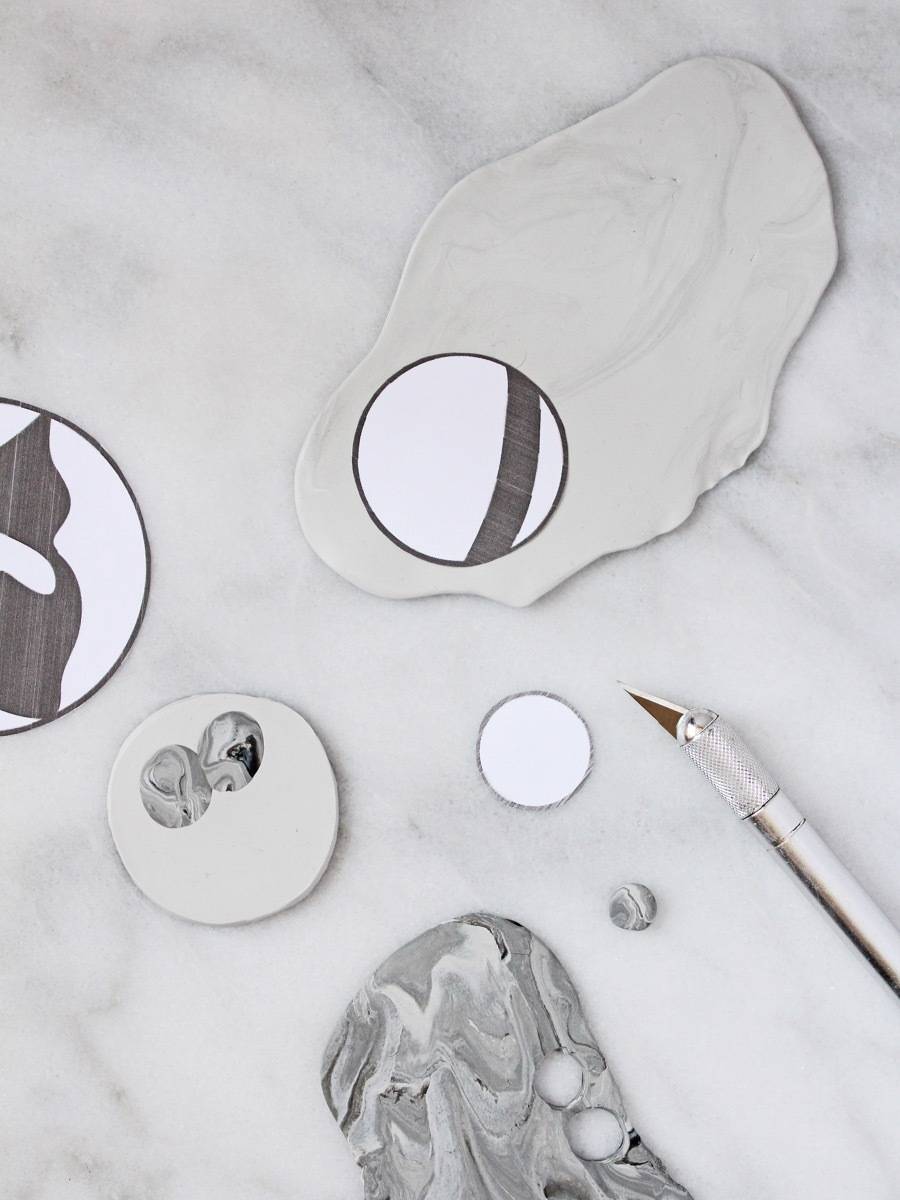
Print out the Minimal Nursery Mobile template as a guide for planet sizes and marbling. Cut out the shapes of the planets (note: Saturn is comprised of two shapes: the planet and its rings).
Roll out the light gray clay until it is 1/4 inch thickness. Roll out the marbled gray to about 1/8th inch thickness. First, trace the outlines of the planets onto the light gray clay, and cut them out with a craft knife. Next, cut out the details for each planet (like the spots on Mars or the rings of Saturn), then trace and cut those out of the dark gray clay.
Lay the details on their coordinating planets, and roll the clays together with a rolling pin.
Step
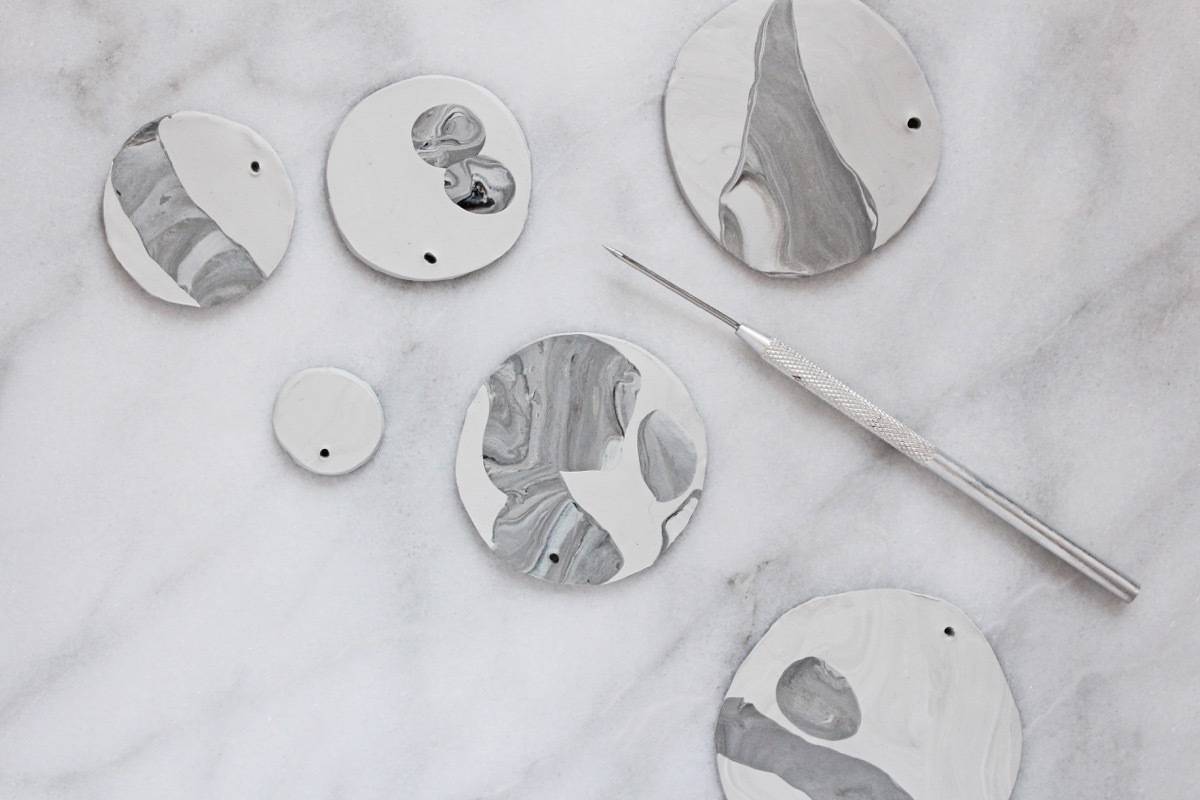
Preheat the oven to 275°. Create an opening at the top of each planet using a toothpick or skinny tool.
Place the clay shapes onto a baking sheet covered in aluminum foil, and bake for 5 minutes at 275°. Let cool and harden before handling.
Step
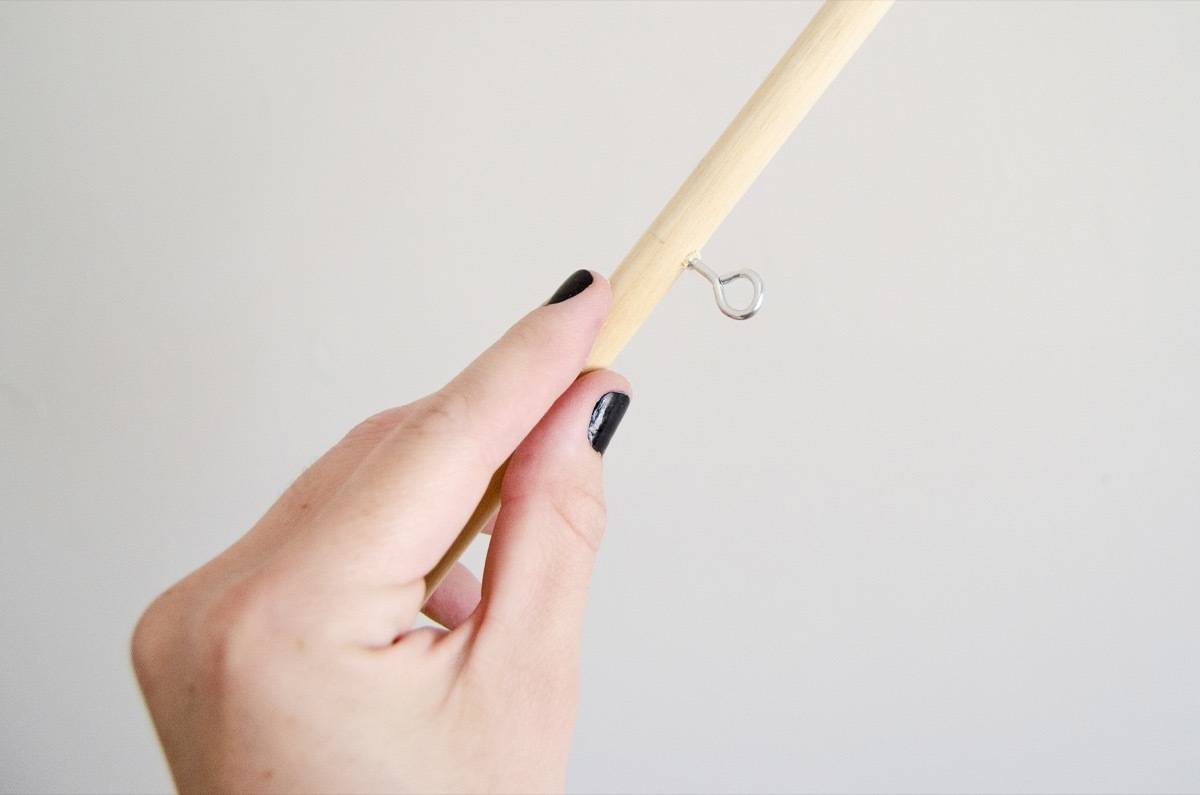
Use a handsaw to cut the dowel in half, resulting in two 18-inch pieces. Sand any rough edges.
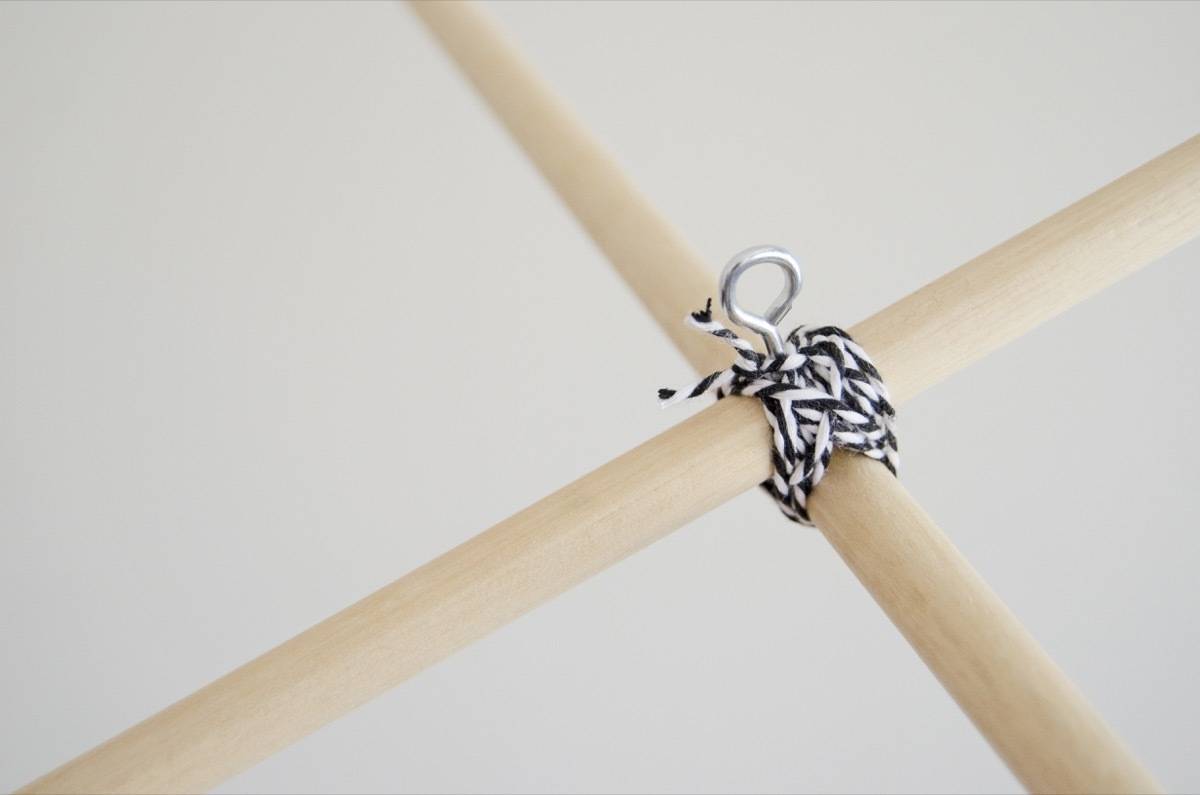
Screw a small eye hook into the center of one dowel. Line up the middle points of the dowels together perpendicularly and wrap them in twine or string until they do not move. Tie the string securely.
To attach the clay planets to the dowel rods, you will need to find the right balance between the shapes so that the mobile hangs straight. String up the dowel rods from the eye hook before attaching the planets.
Step
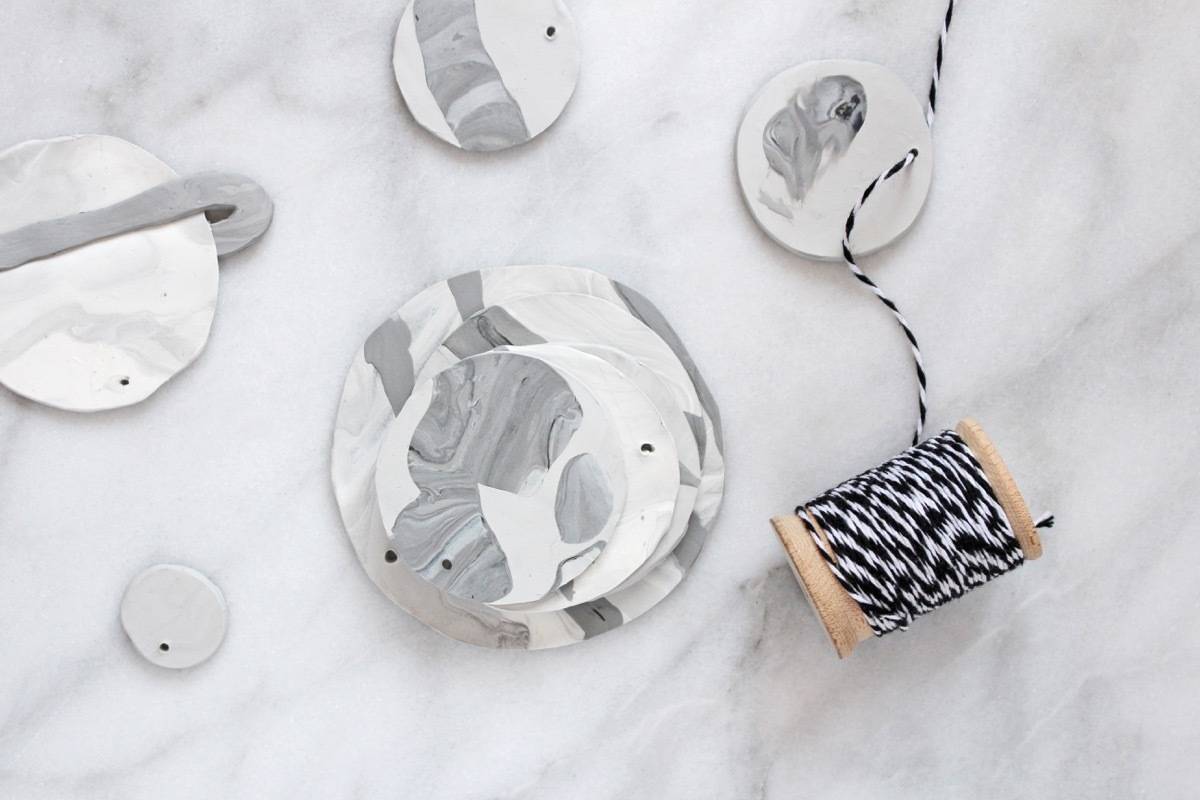
Thread string through the holes in the clay planets and tie them to the dowel rods. Begin with loose knots that can be adjusted, as you’ll need to find the right balance of weight between the planets. Once you are satisfied with the balance, tie each planet securely to prevent movement.
<img class=”vertical-image align size-full wp-image-53872″ src=”https://www.curbly.com/wp-content/uploads/2021/07/minimal_nursery_13.jpg” sizes=”(min-width: 1480px) 469px, (min-width: 1040px) calc(25.48vw + 97px), (min-width: 780px) 312px, (min-width: 640px) calc(66.67vw – 33px), calc(100vw – 48px)” srcset=”https://www.curbly.com/wp-content/uploads/2021/07/minimal_nursery_13.jpg 794w, https://www.curbly.com/wp-content/uploads/2021/07/minimal_nursery_13-199×300.jpg 199w, https://www.curbly.com/wp-content/uploads/2021/
