Are you weary of rummaging through your deep pantry shelves to find that one ingredient you need to complete your chocolate chip cookie recipe? Organizing a deep pantry can be quite tricky, but worry not! We’ve collected some useful tips and products to assist you in organizing your pantry like a pro.

In this blog post, we’ll go through practical tips and tricks for maximizing your pantry storage. From utilizing vertical space to using clear containers, our hacks will help you quickly locate and access your pantry essentials, saving you time and money.
And the best part? You don’t need fancy organizers or a huge budget to transform your pantry. All you need is some creativity and a few innovative strategies to turn your pantry into a beautiful, organized space that you will love!
Let’s start with organization basics and then move into a few affordable products we think will help most in organizing your deep pantry like a pro.
1. Evaluate your pantry storage needs
Prior to delving into organizing your deep pantry shelves, it’s crucial to review your storage needs. Take a moment to contemplate the types of items you typically store in your pantry. Here are a few questions you can ask yourself.
- Do I have a lot of canned goods, spices, or baking ingredients?
- Are there any specific items that take up more space?
- Are there any expired items or items I’m not going to use?
- Do I have anything additional to store in the pantry besides food (i.e. small kitchen appliances)?
Being mindful of your storage needs will allow you to better allocate the space in your pantry.
2. Discard or give away food items
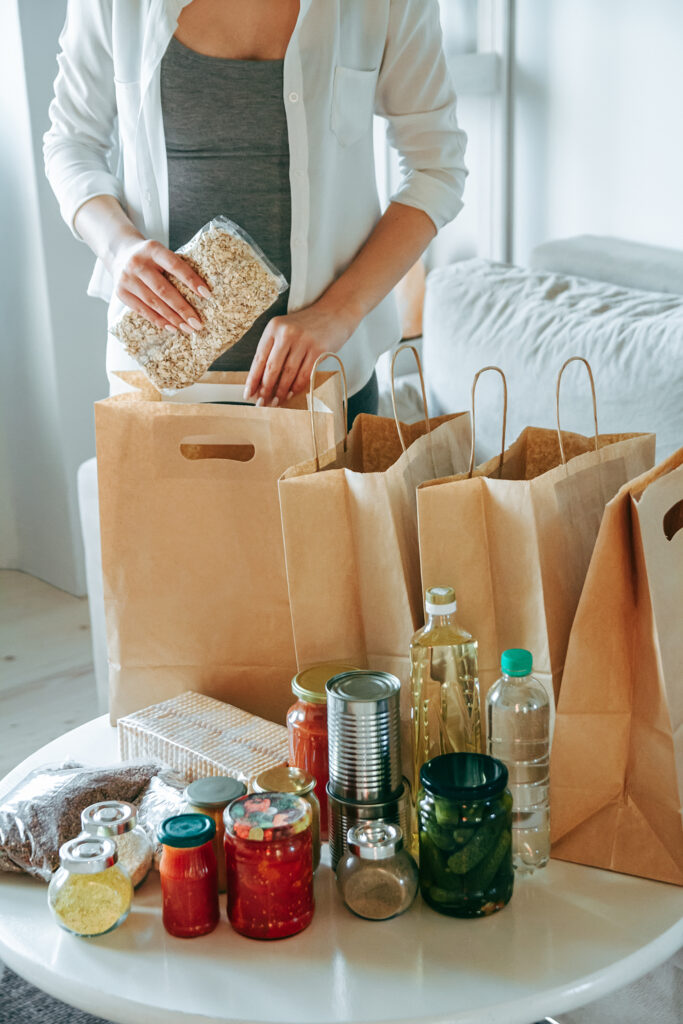
Start by removing all the items from your pantry. Dispose of expired items and consider donating non-perishable items that are still good. Not only will you declutter your pantry, but you’ll also contribute to your community!
Completing this step is crucial as it will help free up valuable space in your pantry and ensure you only keep items that you will use.
3. Group alike items together
After disposing of/donating items, begin grouping the remaining items into different categories for organizing your pantry. Here are a few ideas for categories:
- Breakfast items
- Baking items
- Snacks
- Canned goods
- Pasta and rice
- Nuts and seeds
- Vinegars, wines, and oils
- Sauces and condiments
- Boxed meals (i.e. mac and cheese)
- Beverages (i.e. tea and coffee)
Once you’ve grouped all the items, begin looking for places in your pantry to store each category. Consider arranging items in a way that makes sense to you, such as by type (e.g., soups, vegetables, fruits) or by frequency of use (e.g., everyday items, special occasion items).
8. Organize pantry shelves by frequency of use
When organizing your pantry, it’s important to consider the frequency of use for each item. Keep everyday essentials within easy reach while reserving less frequently used items for the back or higher shelves.
For instance, place items like cooking oils, spices, and commonly used canned goods on the most easily accessible shelves (typically the middle shelves.) Reserve the lower shelves for heavier items like bulk pantry staples or small appliances you don’t need to access as often. Upper shelves are great for storing smaller, seasonal items (cupcake wrappers, sprinkles, etc.)
4. Make the most of vertical space
One of the most effective ways to maximize your deep pantry shelves is by utilizing vertical space rather than horizontal space. Flexible shelving systems are a game-changer when it comes to pantries and help keep things from disappearing into the deep, dark back of the pantry. These systems allow you to customize the height between shelves, making it super easy to store items of different sizes.
Start by installing adjustable shelving systems or shelf risers in your pantry. This will allow you to create shelves that perfectly fit your storage needs. Place taller items, such as boxes or bottles, on the lower shelves and reserve the higher shelves for smaller items like spices or cans.
To further optimize vertical space, consider using shelf dividers or tension rods. These simple organizers can help you create more compartments within each shelf, allowing you to stack items vertically without them toppling over.
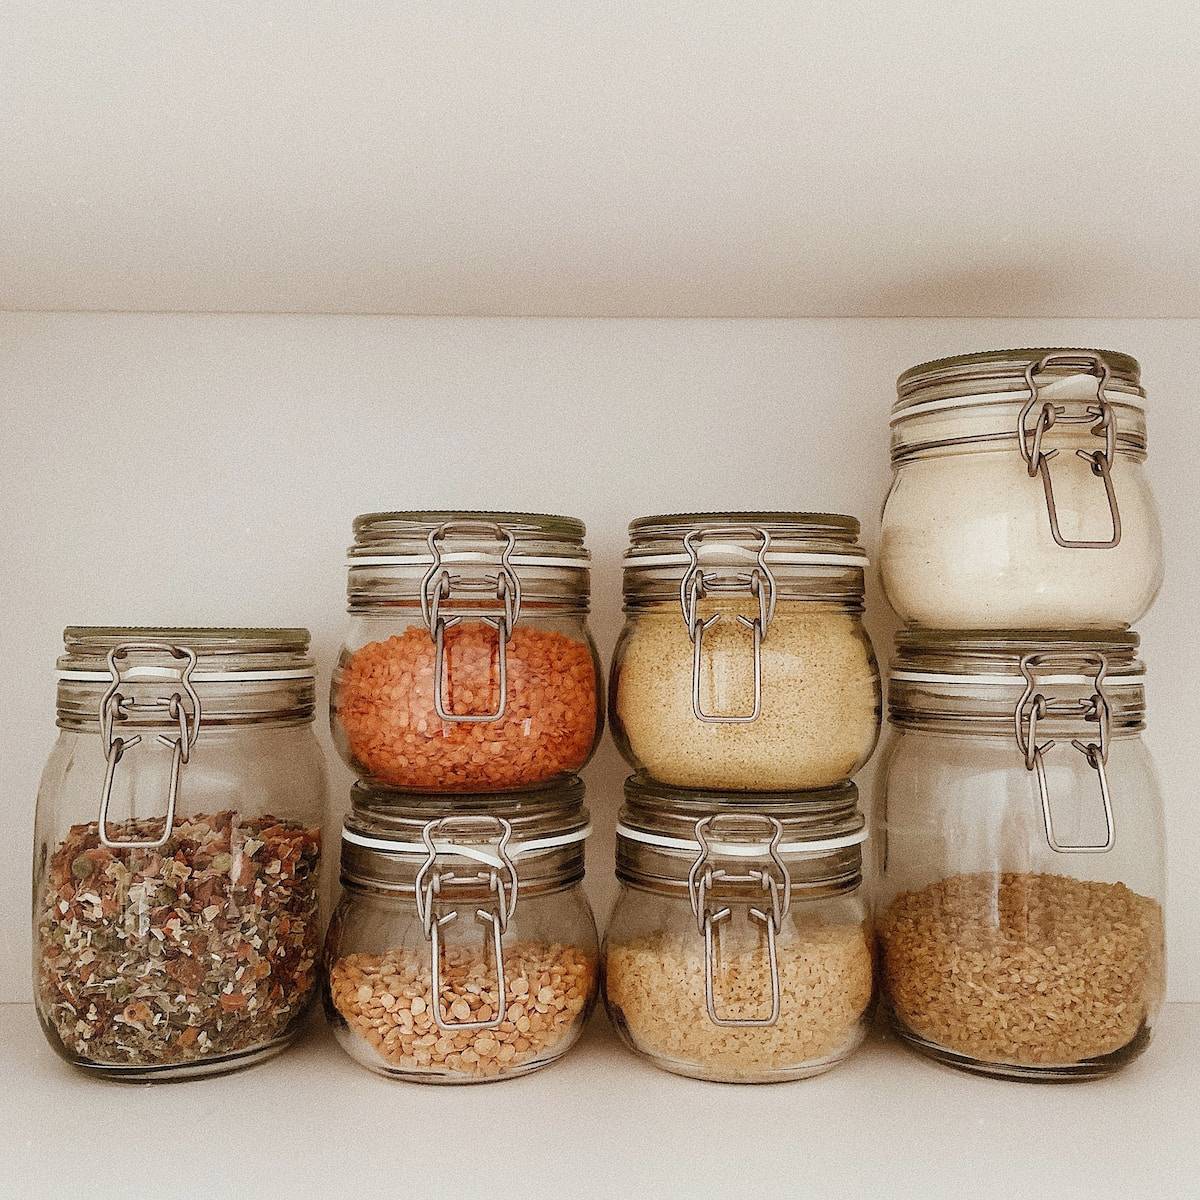
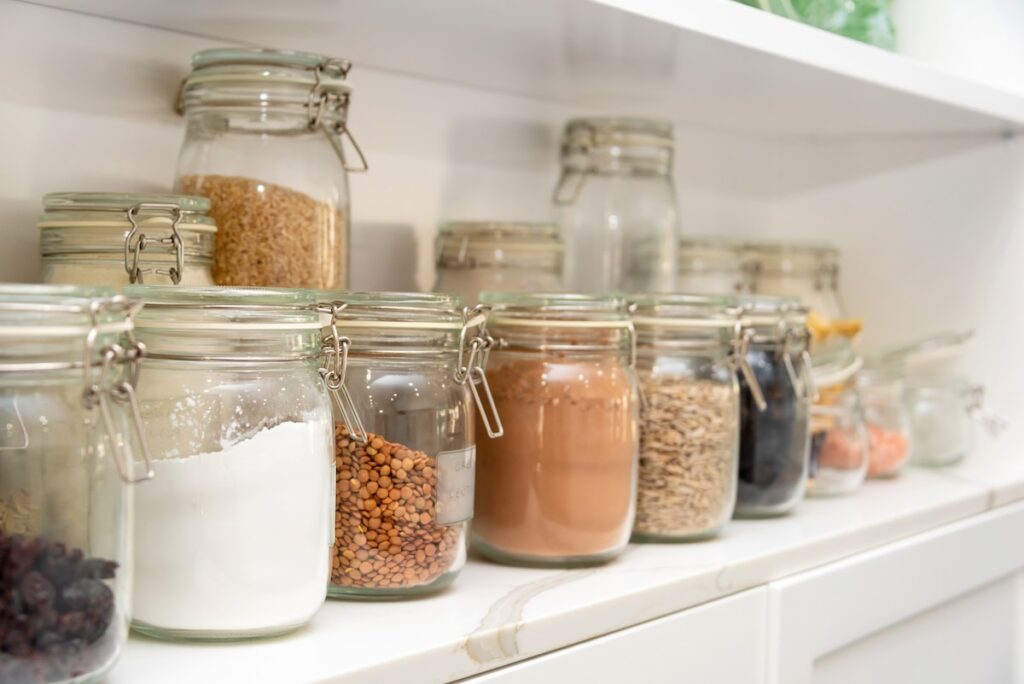
5. Utilize clear storage containers and labels
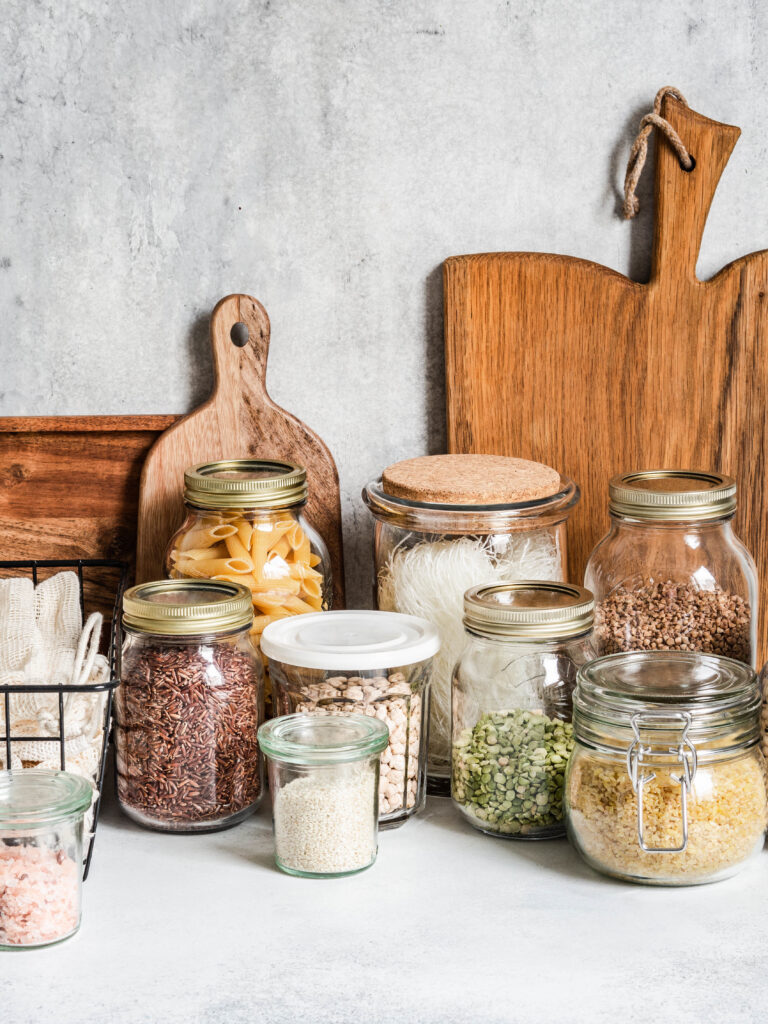
Clear storage containers are perfect for pantries. They are great for keeping loose or bulk food items contained, and they make it easy to see what you have at a glance. No more digging through layers of bags and boxes to find what you need!
Purchase clear storage containers in different sizes to store different types of foods or use jars you already have at home. Transfer loose items like baking supplies (flour, sugar, pasta, rice, beans) into these containers and label them accordingly. Labels are essential for maintaining a well-organized pantry; you won’t be left wondering if you put basmati or jasmine rice in a container.
Consider using a label maker or chalkboard labels for a clean and professional look when labeling your containers. Be specific with your titles, mentioning the contents and even the expiration date if necessary. This will make it easier to rotate your items and ensure nothing goes to waste.
7. Use small baskets and bins
Small items like seasoning packets, tea bags, or snack bars can easily get lost in the depths of deep pantry shelves. Use small baskets and bins, preferable clear bins or baskets, to group like items and keep them organized and easy to grab.
For example, dedicate one basket to snacks, another to tea and coffee supplies, and another to baking decorations.
Here are some of our favorites. The set from Amazon is around $15. The IKEA option is the most affordable, around $5 per bin and the single bin from Target is around $10, depending on the size.
7. Add a lazy susan
A Lazy Susan’s rotating design allows for easy access to items on all sides. You can quickly spin it to find what you need without having to reach deep into shelves or move items around. There also perfect for making the most of corner cabinet or pantry space that might otherwise be difficult to utilize efficiently. You can store a variety of items in one compact area. I like to use it for high rotation items, like oils, vinegars, salt, and pepper.
Consider installing pull-out drawers
This is probably more of an investment of time and money than the other suggestions, but installing pull out shelves can have a huge impact on usability of deep pantry shelves. They’re also great for storing heavier items, like small kitchen appliances and pots and pans.
By effortlessly sliding out, pull-out shelves eliminate the need to awkwardly reach deep into cabinets, making it easier to find items, even those at the back. They improve visibility, reducing the likelihood of forgotten or expired items, minimizing food waste.
6. Create a rotation system
Speaking of rotating items…the next hack is to create a rotation system for perishable items. This will help prevent food waste and ensure you use your pantry items before they expire. This is especially important for items with a relatively shorter shelf life, like dried fruit or coffee.
When restocking your pantry, place newer items at the back and older items at the front. This way