
Valentine’s Day is just around the corner, and enamel pins are making a comeback. So why not create your own as a cute and personalized gift for your friends and loved ones? Not only are they quick and easy to make, but they also offer plenty of room for creativity, allowing you to personalize them according to your preferences.
For a step-by-step guide, refer to the video tutorial or follow the instructions provided below. You can download a printable template to use or let your creativity run wild!
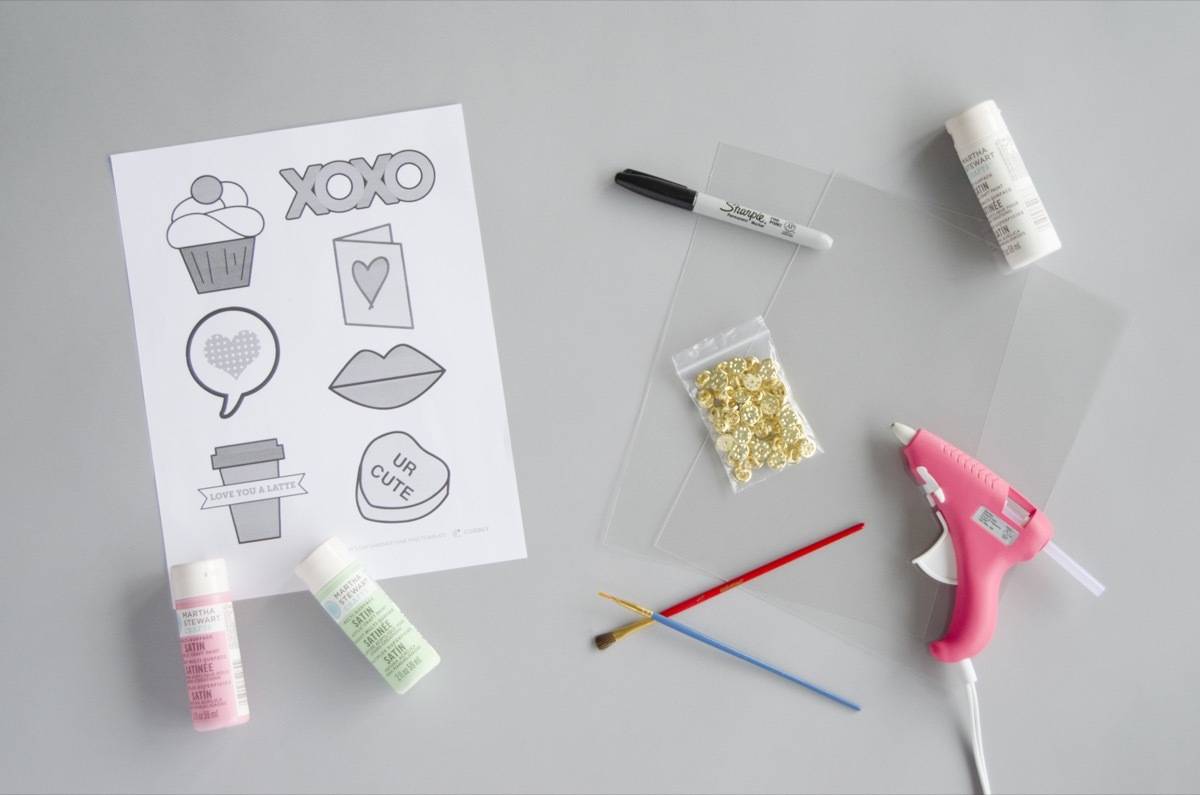
Materials
- Valentine’s Day pins template (download)
- Shrink paper
- Clutch back pins
- High quality acrylic paints
- Paint brushes
- Marker or pen
- Hot glue and glue gun
- An oven, cookie sheet, and aluminum foil
Step 1
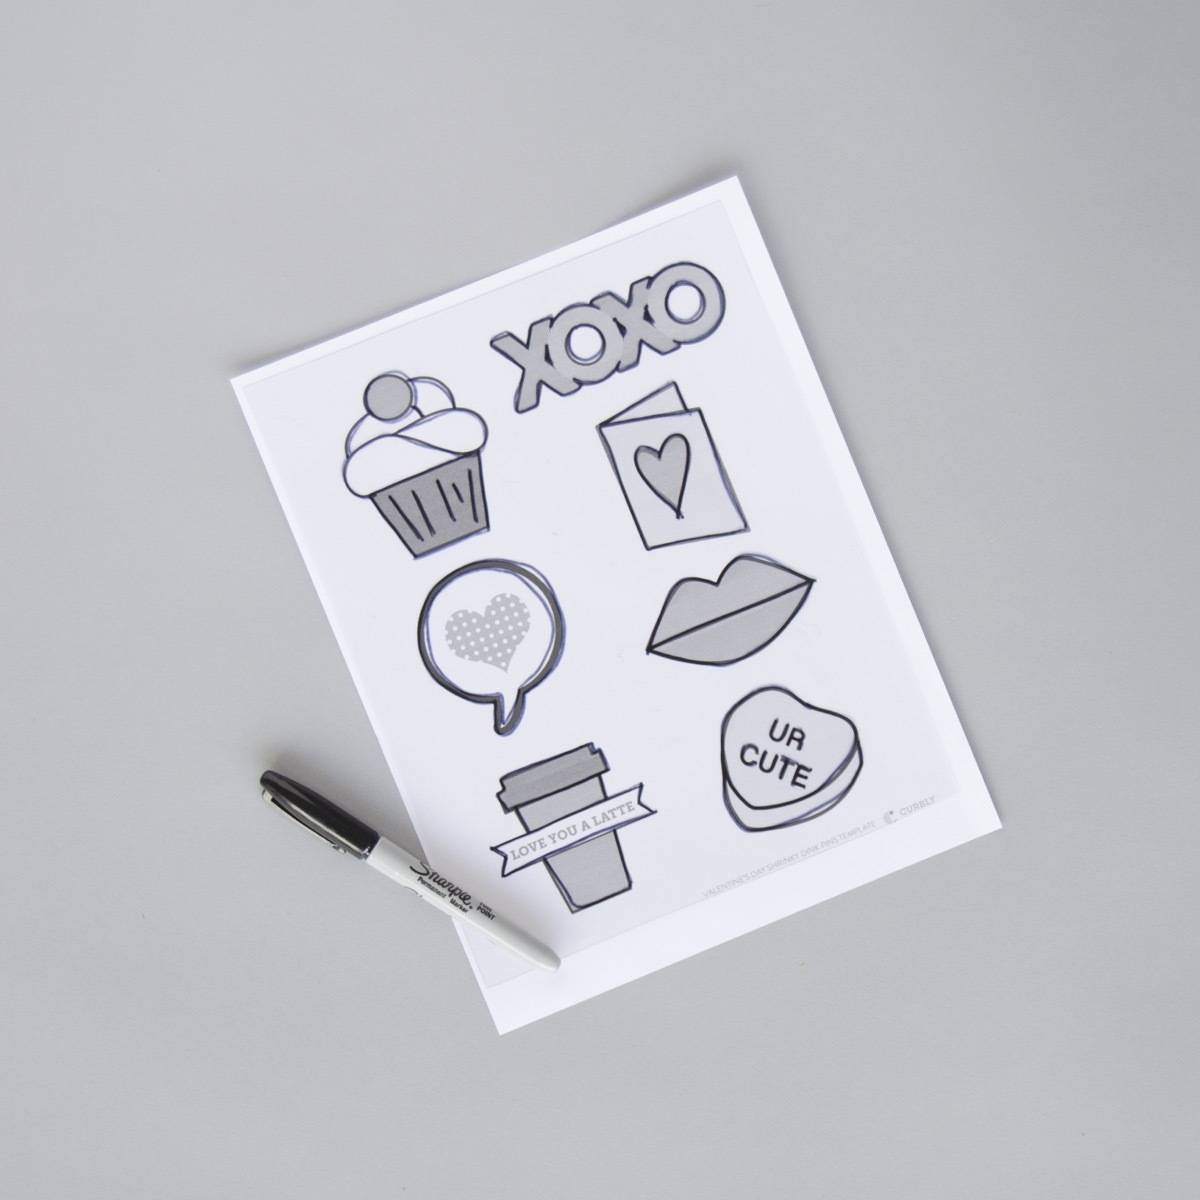
Start by printing out the Valentine’s Day pins template. Place a piece of shrink paper over the template and trace each shape using a marker.
Step 2
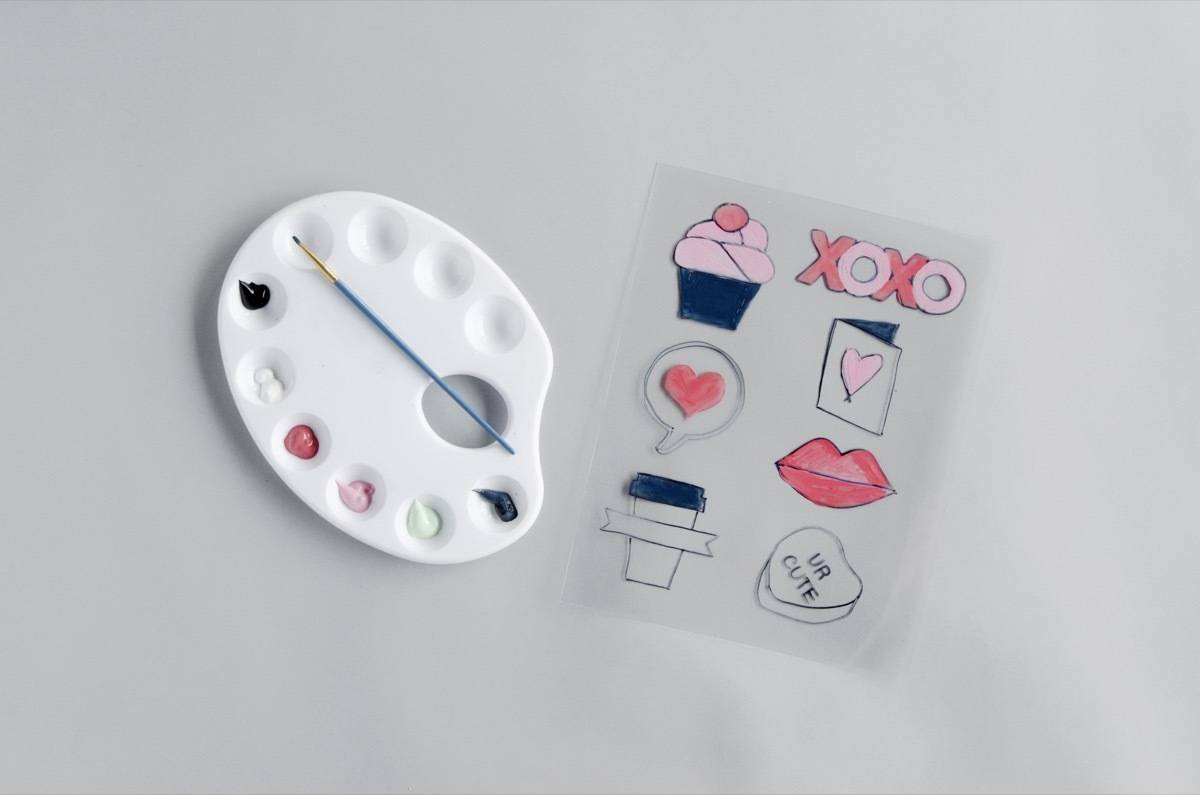
Next, fill in the designs with a thin layer of acrylic paint. Keep the layer light to achieve a smooth finish. High-quality paints are recommended for richer color with fewer layers.
Step 3
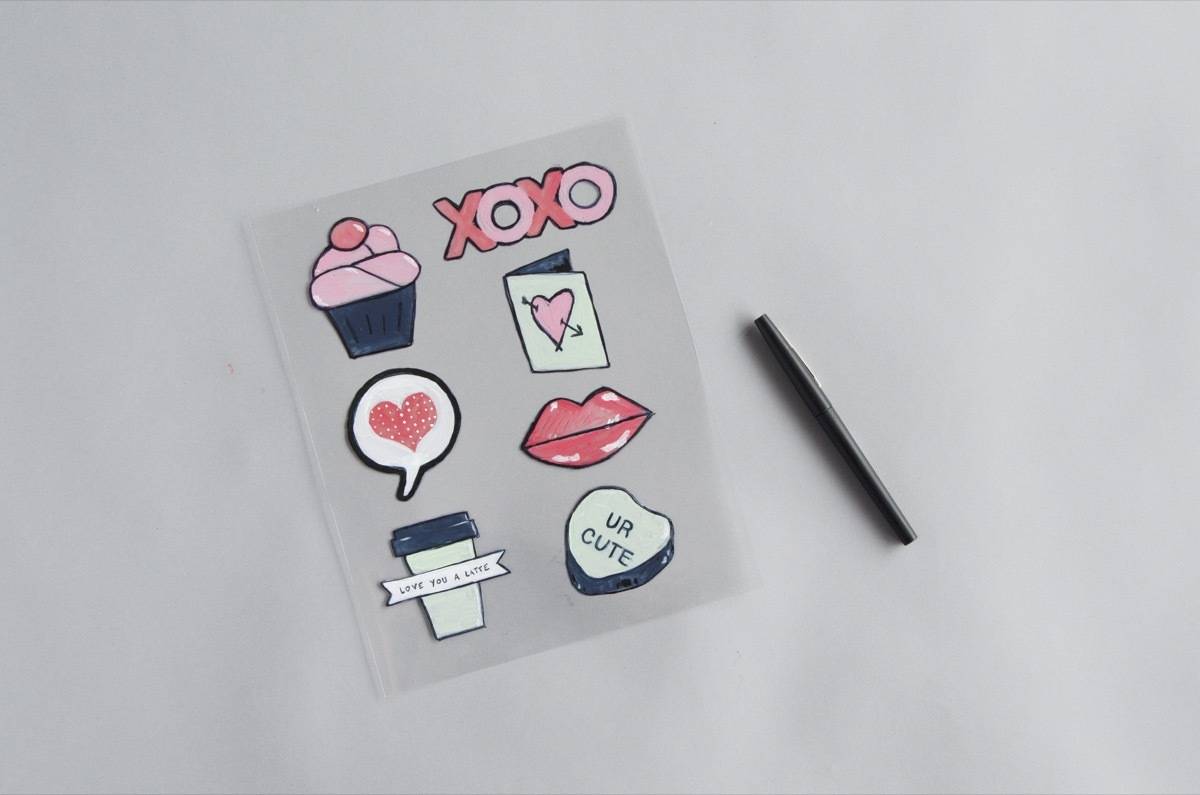
Allow the paint to dry, then go over the edges of the designs to redefine them. Add any desired lettering over the paint.
Step 4
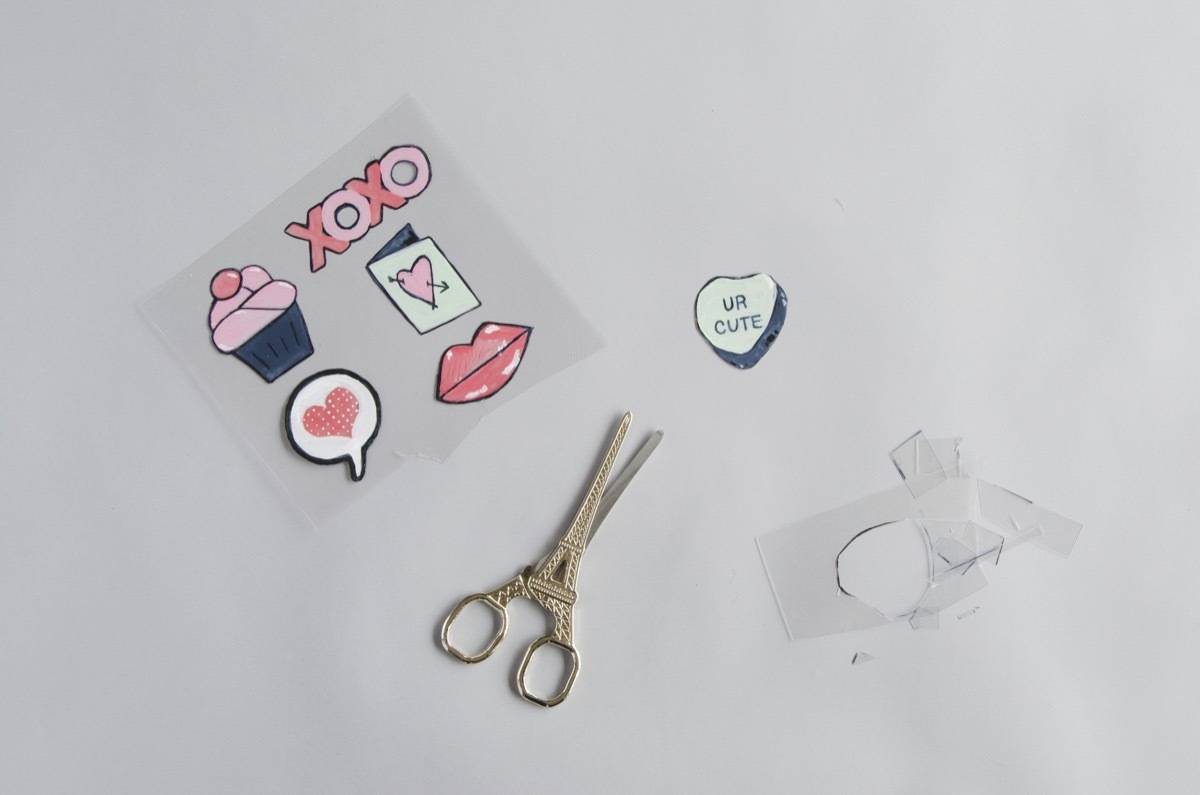
Carefully cut out each design from the shrink paper, taking your time to avoid ripping it.
Step 5
Preheat the oven to 325º F and line a cookie sheet with aluminum foil. Place the designs on the sheet without overlapping and bake for 1-3 minutes. The paper will curl and shrink, becoming thicker.
Step 6
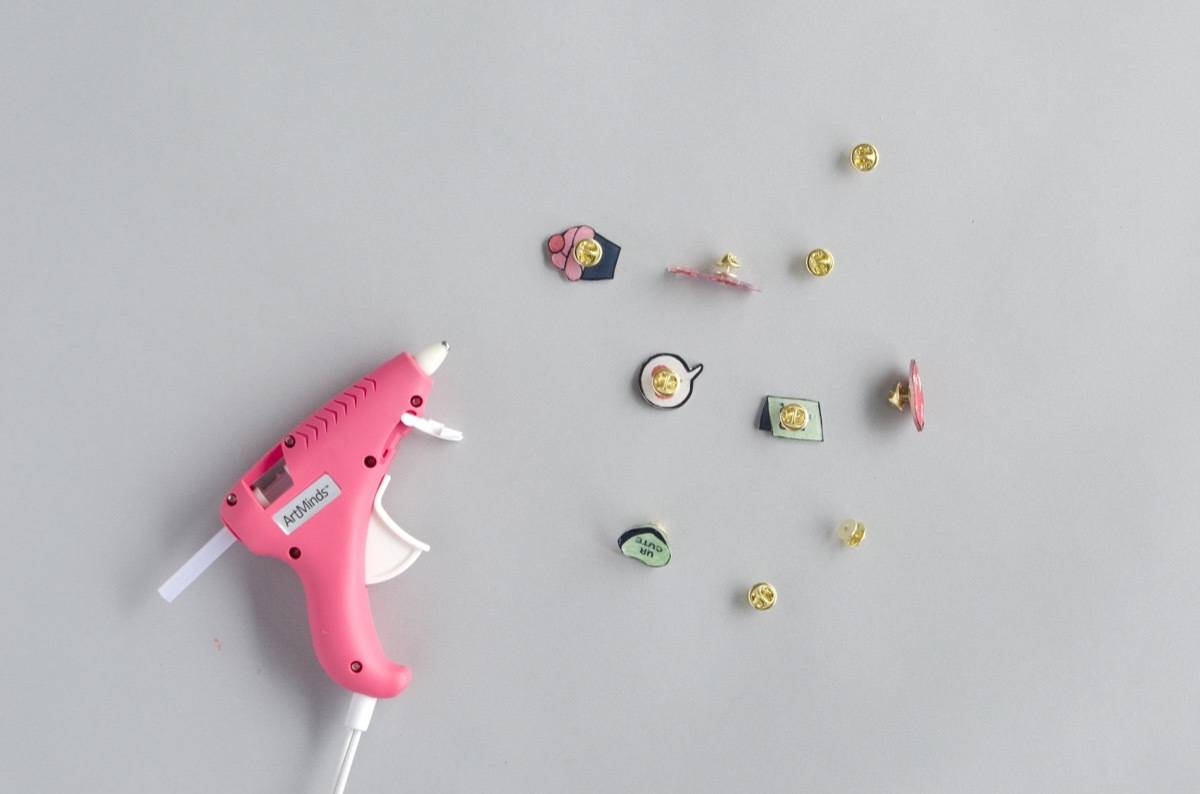
After cooling, use hot glue to attach the pin backs. For added protection, consider sealing them with a finisher spray. And that’s it!