
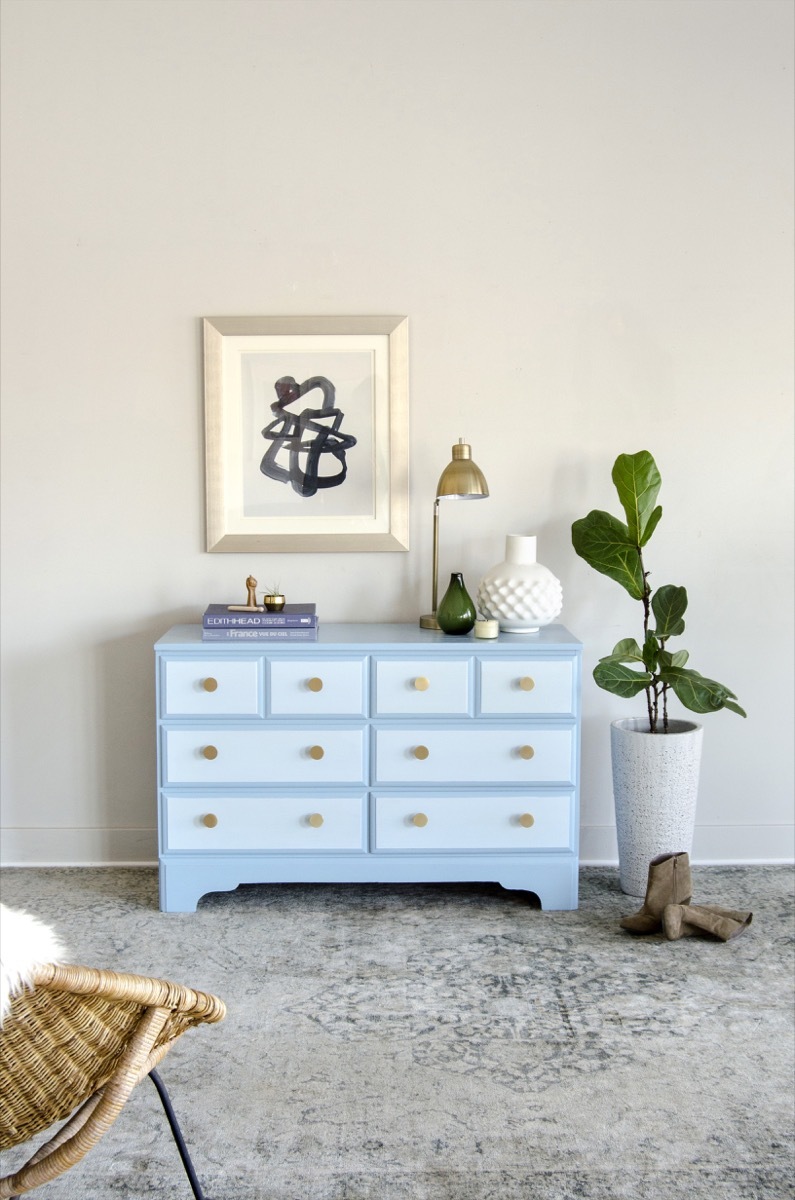
Embarking on a before-and-after project can be both exciting and satisfying. Transforming a lackluster Craigslist dresser into a stunning centerpiece can be accomplished in just 10 simple steps. Achieving a flawless finish on a painted dresser requires attention to detail and patience, and taking shortcuts could lead to subpar results. However, by following our meticulous step-by-step process, you can ensure that your Craigslist finds become the center of attention!
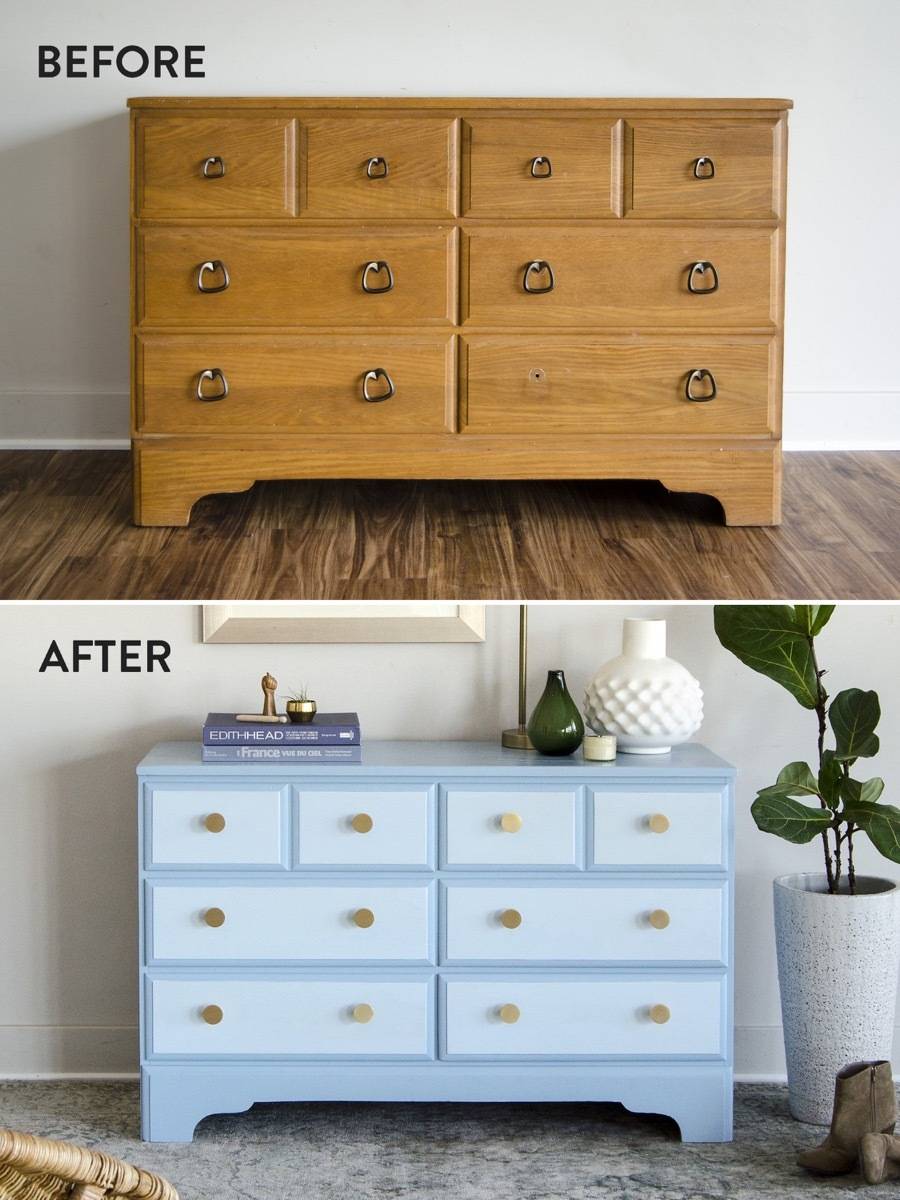
A hasty approach to repainting a dresser can result in a lackluster finish. Whether you’re embarking on a new project or revitalizing an old one, it’s important to refinish your painted dresser or wooden furniture to ensure it stands the test of time!
Watch the video on YouTube or follow along below to discover how to repaint a dresser, and read on for a detailed guide.
Refinishing painted furniture or previously varnished furniture, such as painting tile floors, can be more challenging than it seems. Whether you’re dealing with a poorly executed previous job or require extensive preparation to restore the surface, dedicating the time and effort to the task will ensure a beautifully painted dresser that will endure.
Step 1
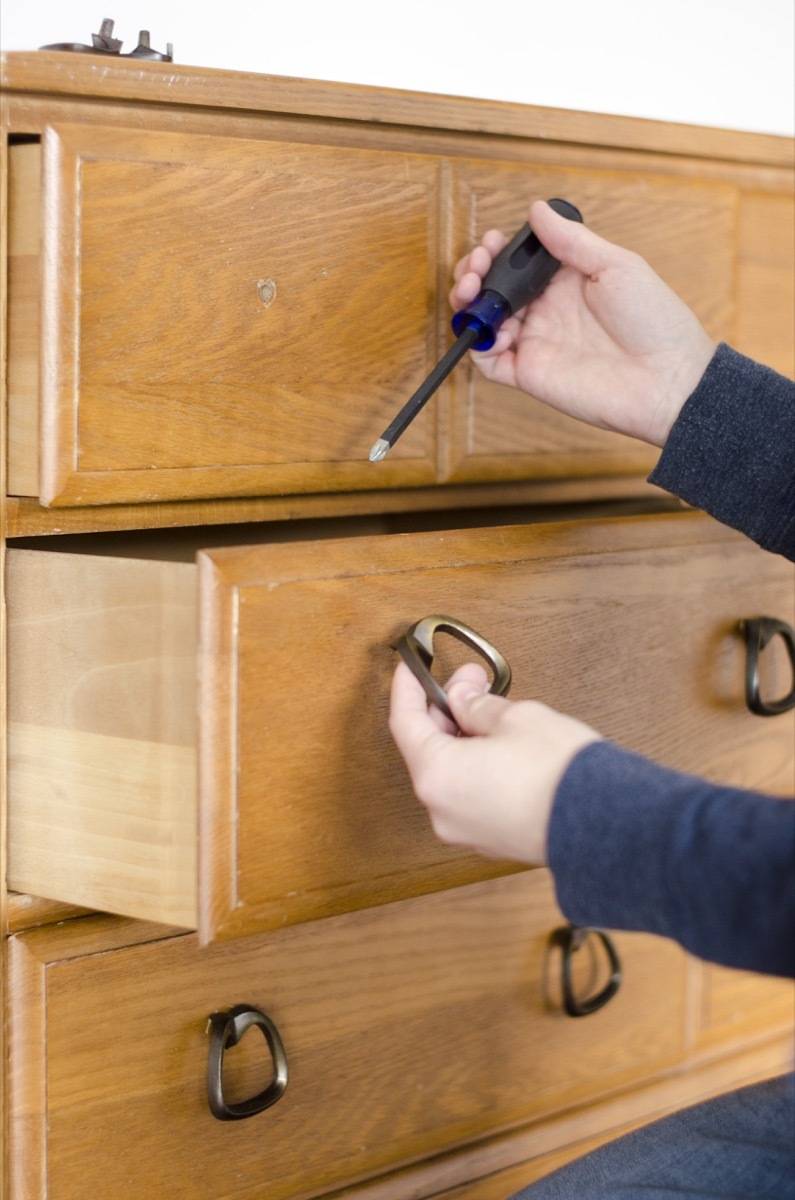
Begin by removing all hardware and pulling out the drawers. If you plan to reuse the hardware, set it aside. In cases where the hardware is unfit for reuse, save it for future projects.
Step 2
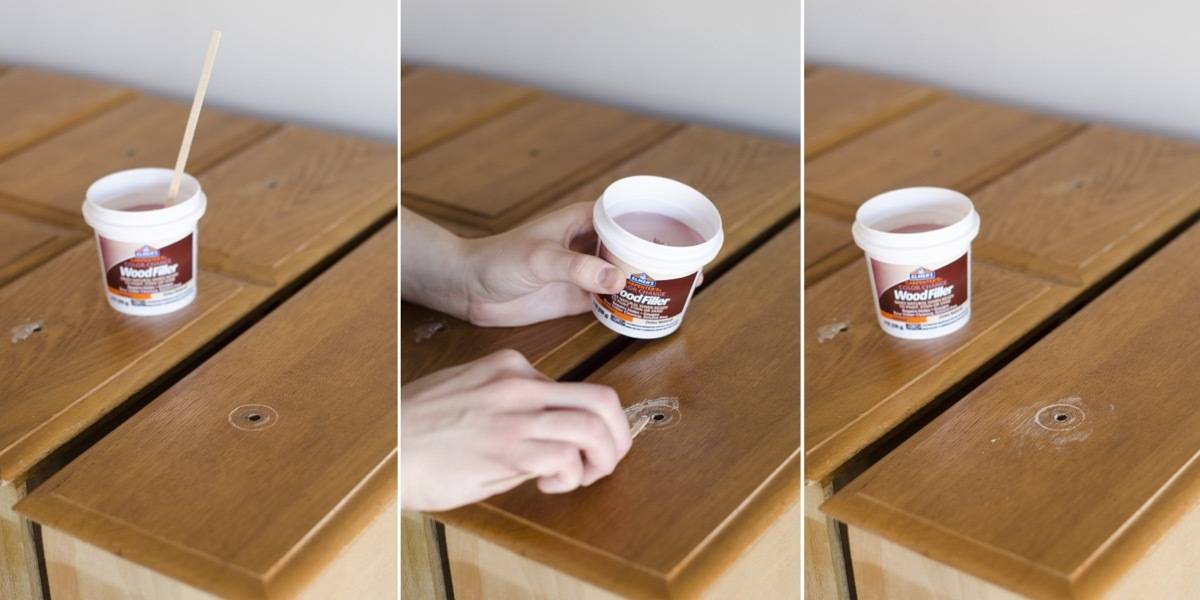
Fill any holes and cracks with wood filler, ensuring that they are slightly overfilled. Once dry, sand the filler down. If you anticipate a change in hardware that requires new holes to be drilled, fill the existing knob holes with wood filler. For deep areas, apply the wood filler in layers, allowing each layer to dry before adding another.
Step 3
If there are any instances of splitting veneer or split wood, use wood glue and clamps to make the necessary repairs.
Step 4
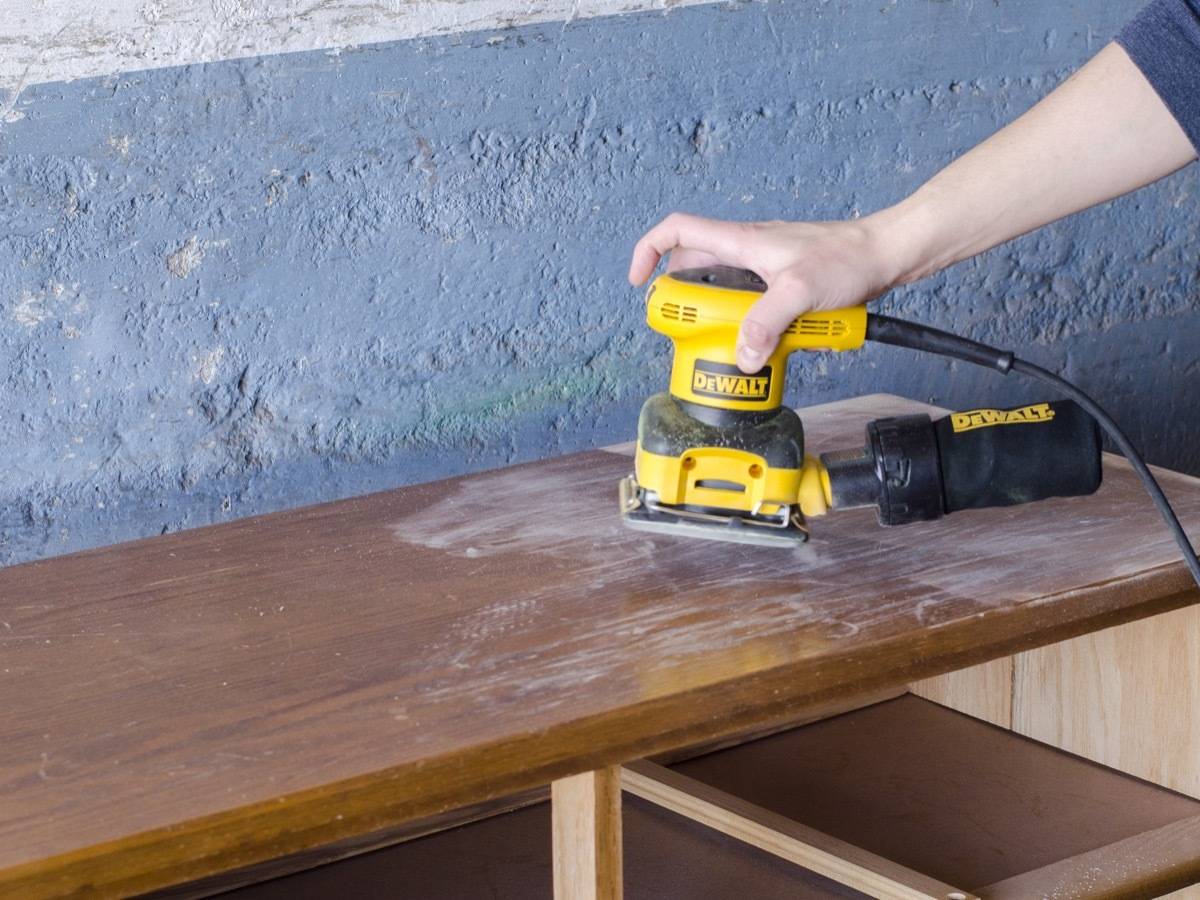
Prepare for some dust! Sand down all repaired areas, scratches, and dings. When painting over existing paint, ensure that any drips are sanded down. It’s advisable to lightly sand the entire furniture piece to improve paint adhesion. Use sandpaper with a grit level between 120 and at least 220 grit.
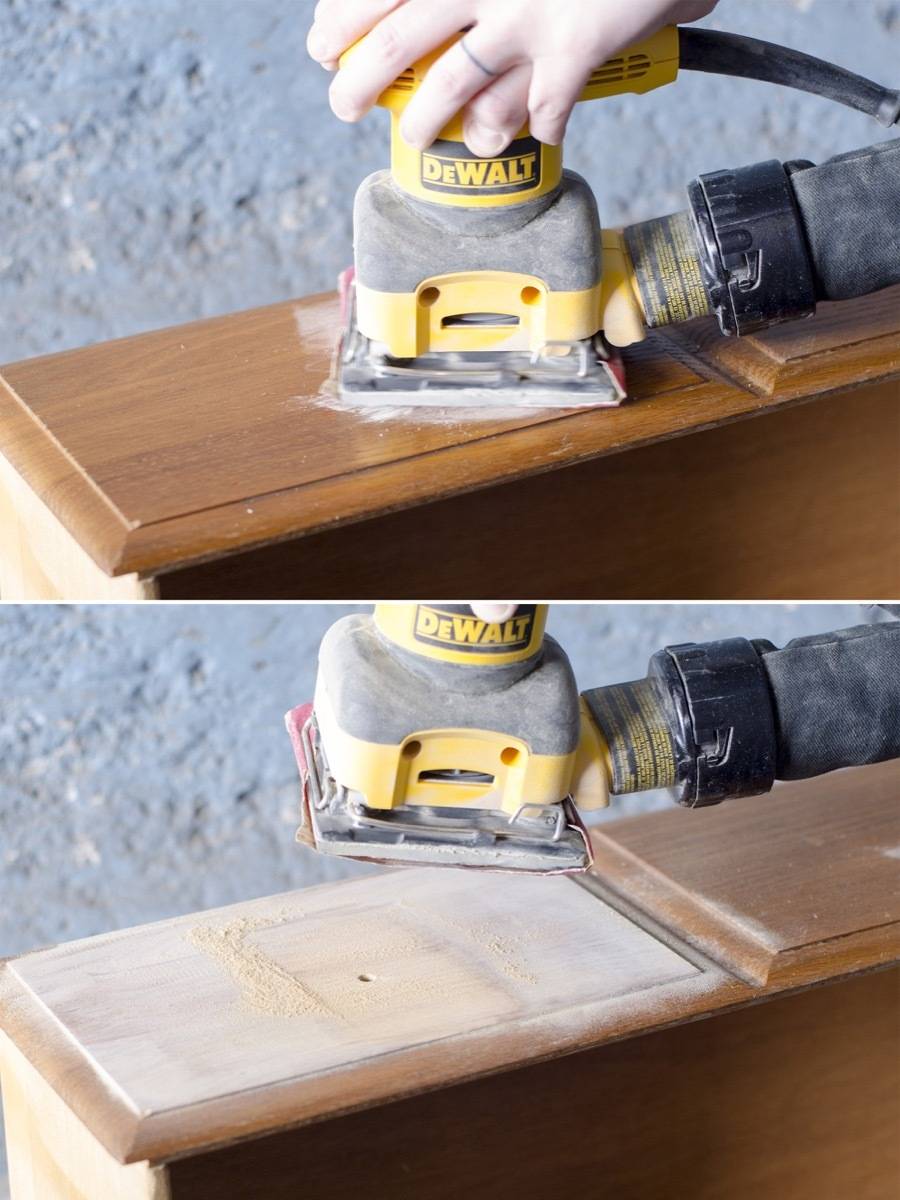
If possible, use an electric sander for large surfaces and hand-sand intricate areas.
Step
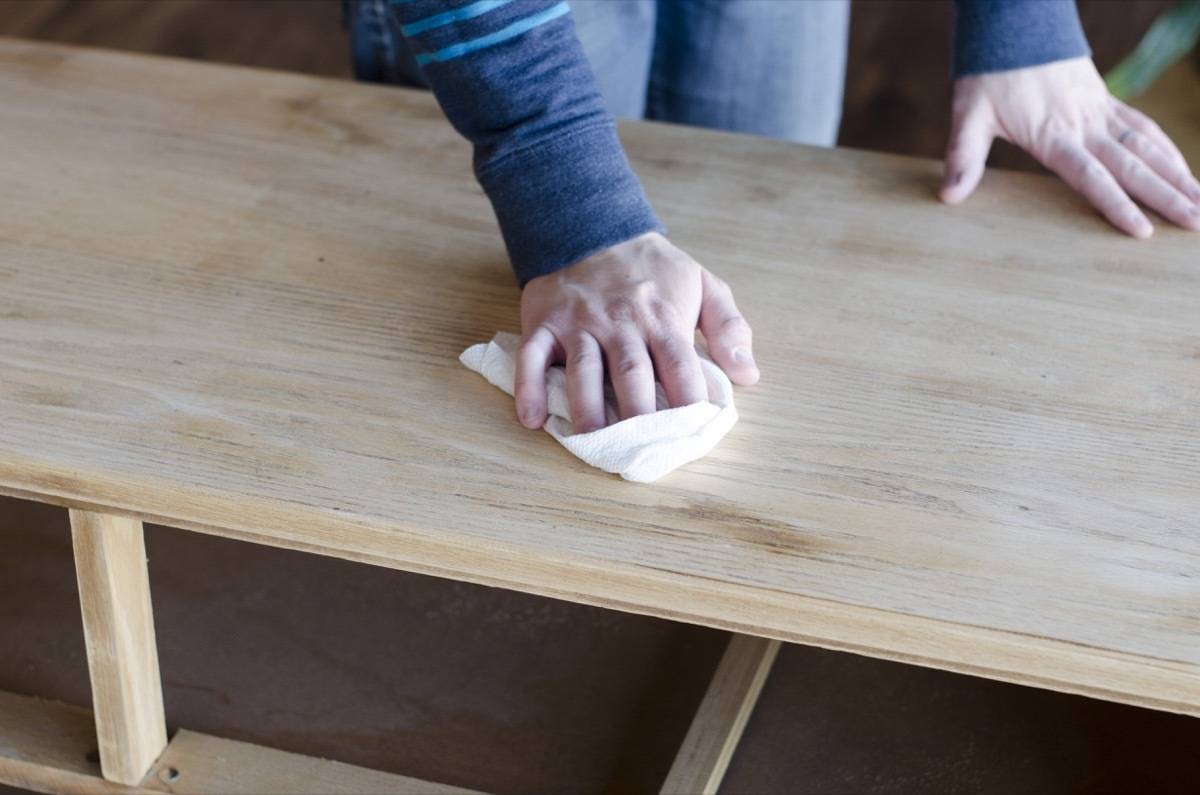
Use a damp rag to remove all dust from the wood furniture piece. For a smoother painted finish, consider painting the furniture in a different room than the one used for sanding, or allow a day for the settled dust in the air.
Depending on the type of paint and the desired durability, priming the wood before proceeding to the next step may be necessary. It is recommended to apply two coats of an oil-based primer using a small foam roller, and sanding between each coat.
Step 5
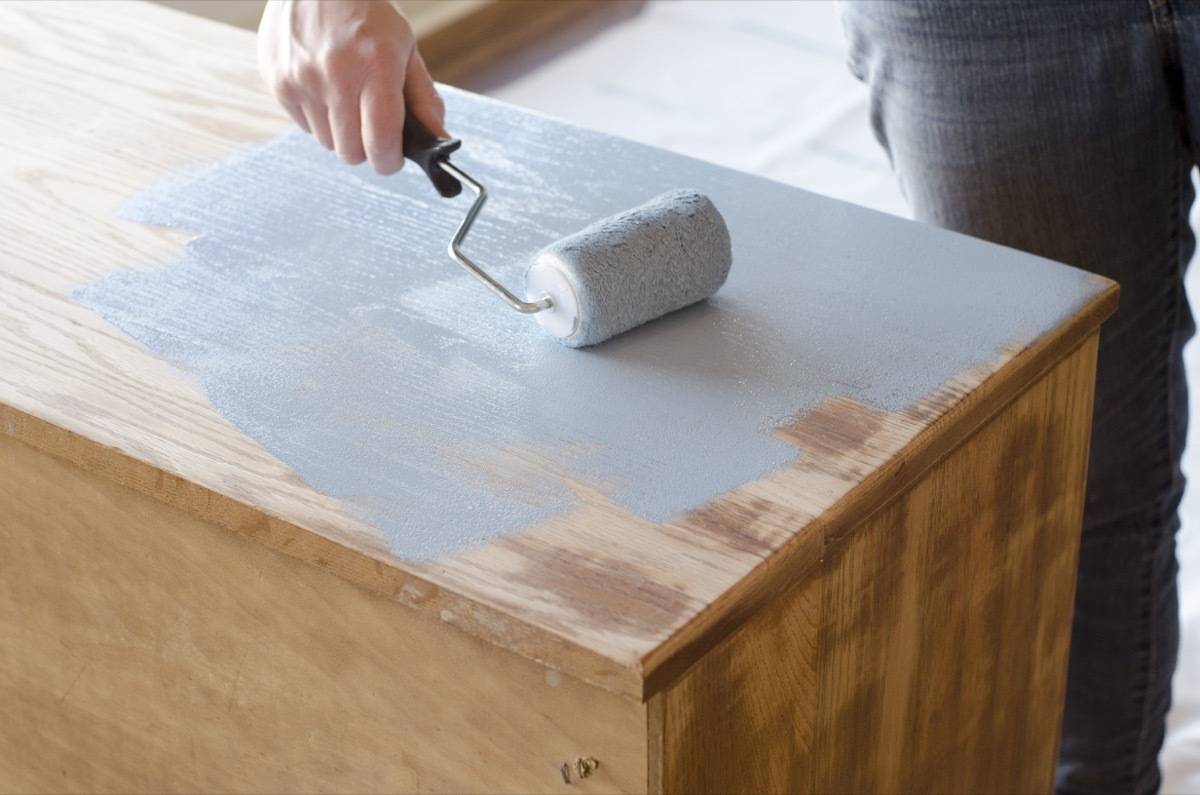
It’s time to begin painting! Apply a top coat to larger areas using a smooth foam roller brush, and use an angled brush for narrower or detailed areas. For this project, Behr’s alkyd semi-gloss